Organizing a successful event requires managing event registration in the Odoo 17 Events Module, which provides a comprehensive and user-friendly solution for participants management.
This module makes it easier for event organizers to manage all stages of registration and check-in by offering a variety of options ranging from recording participant data to validating attendance. Odoo 17 improves event administration, allowing for better collaboration and a smoother experience for both visitors and organizers.
Steps to Optimize Event Registration Management in Odoo 17
Event Registration
The process of generating and publishing an event in the Odoo Events Application is referred to as event registration. To enable this process, go to the Odoo 17 Events Module’s ‘Configuration’ menu and select the ‘Settings’ option.
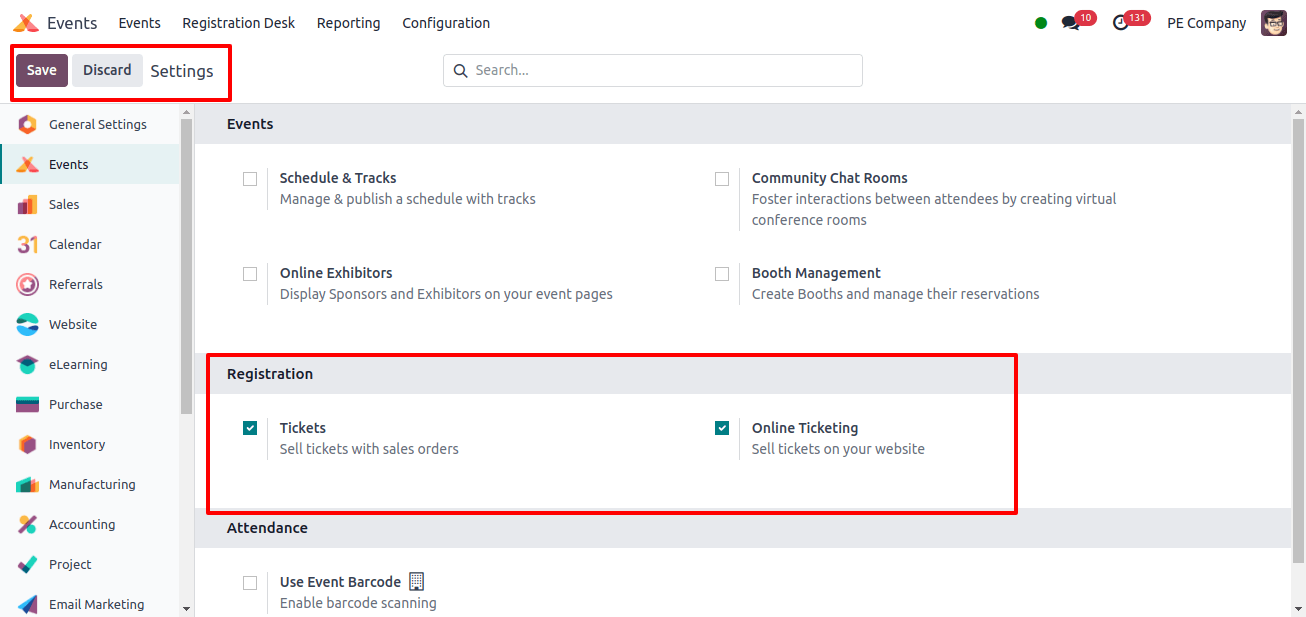
The ‘Registration’ section of the ‘Settings’ menu includes two options for user registration: ‘Tickets’ and ‘Online Tracking.’ These options can be enabled in the module’s Settings menu to sell tickets online or via sales orders. The ‘Online Ticketing’ option allows ticket sales via websites. After you’ve enabled these features, click the ‘Save’ button to save your choices.
Choosing an Event and Registering for the Event
Before we can show the event registration process, we must first create a new event or sheet an existing event from the Odoo 17 Events Module database. The view below shows how to create a new event with the Odoo 17 event application.
Here, I am selecting an already existing event called ‘OpenWood Collection Online Reveal.’
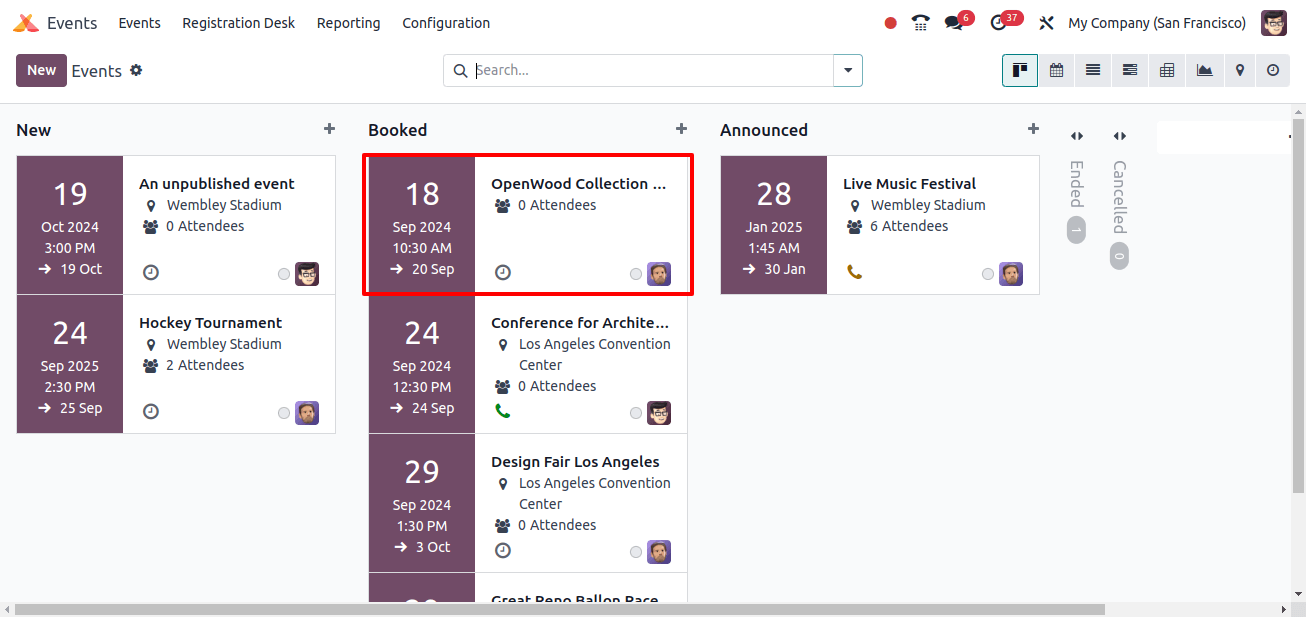
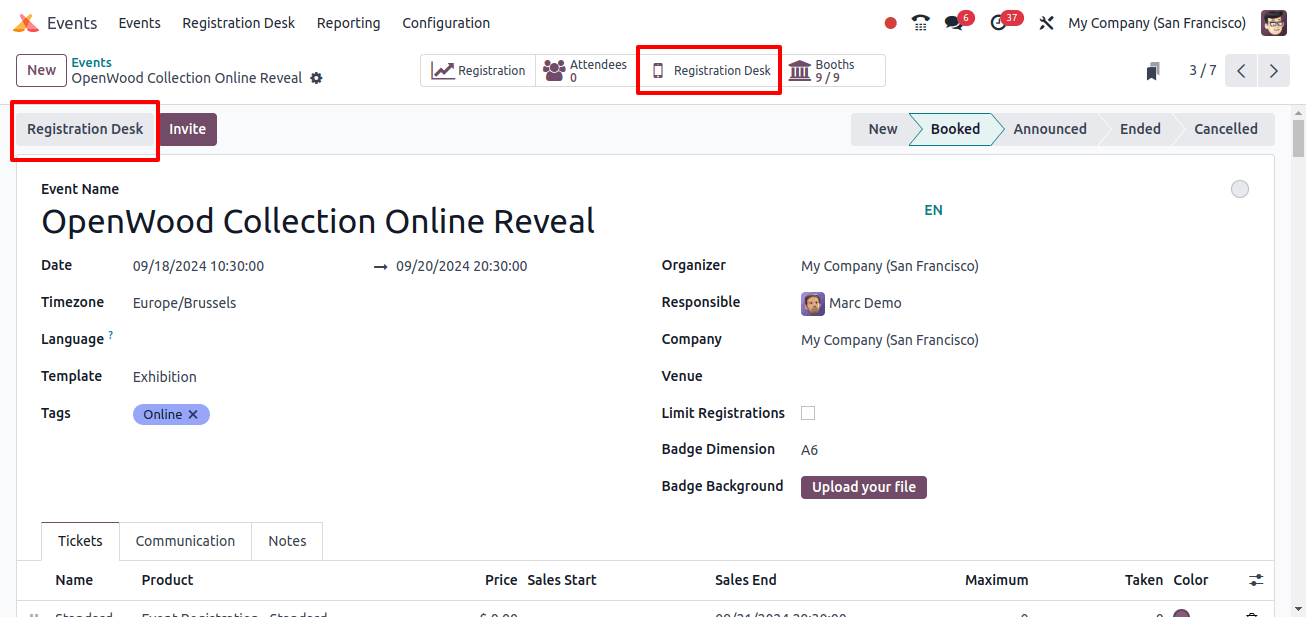
When we open the Kanban card for a certain event, we can go directly to its setup form. Then, we may access the registration desk by clicking the Registration Desk smart button or the same button located at the top of the event settings page, as shown below.
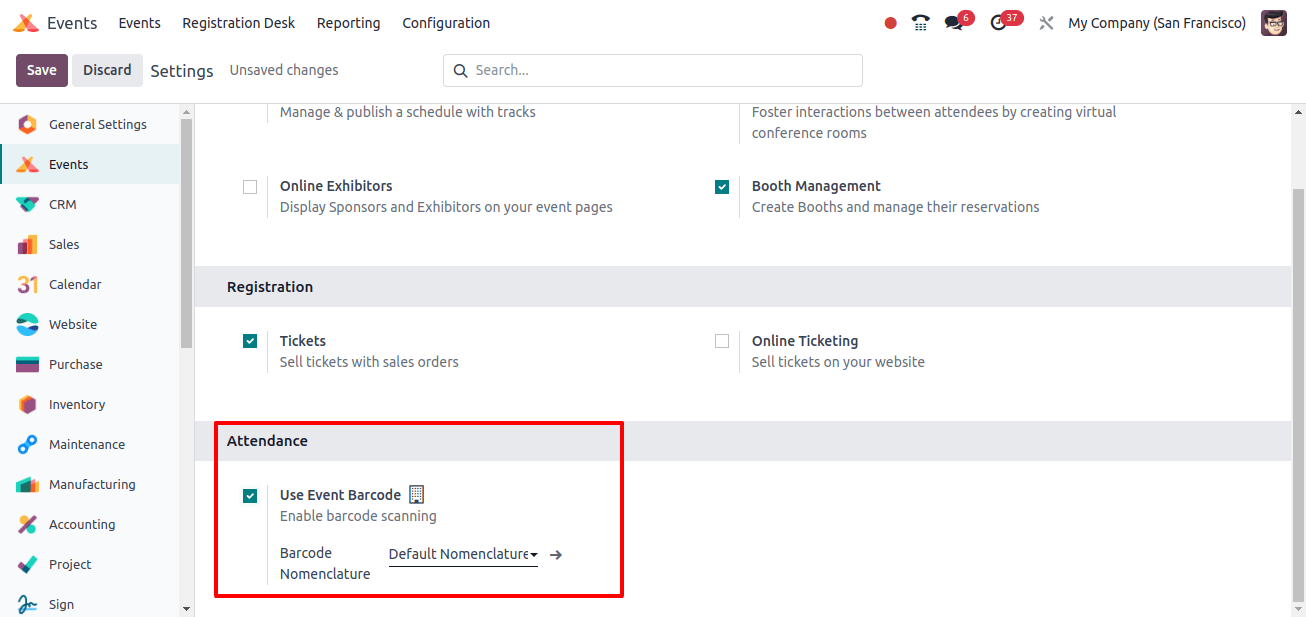
To use this feature, simply enable the Barcode option under the Attendance tab in the Settings menu.
Clicking the ‘Select attendees’ button will take you to the attendees’ dashboard, as shown in the image below. You can select individuals and record their presence in the database that is available.
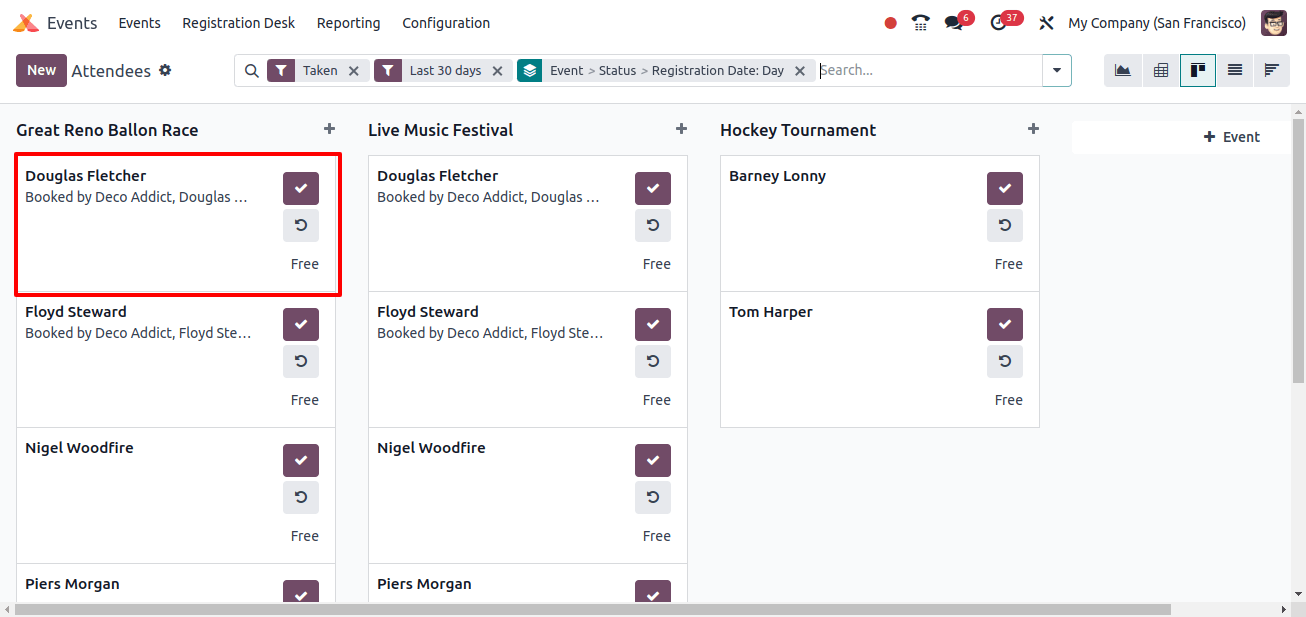
Simply click the check mark symbol on the attendee data card to manually record attendance. The attendee barcode can also be scanned using an external barcode reading device.
Registration Desk Menu
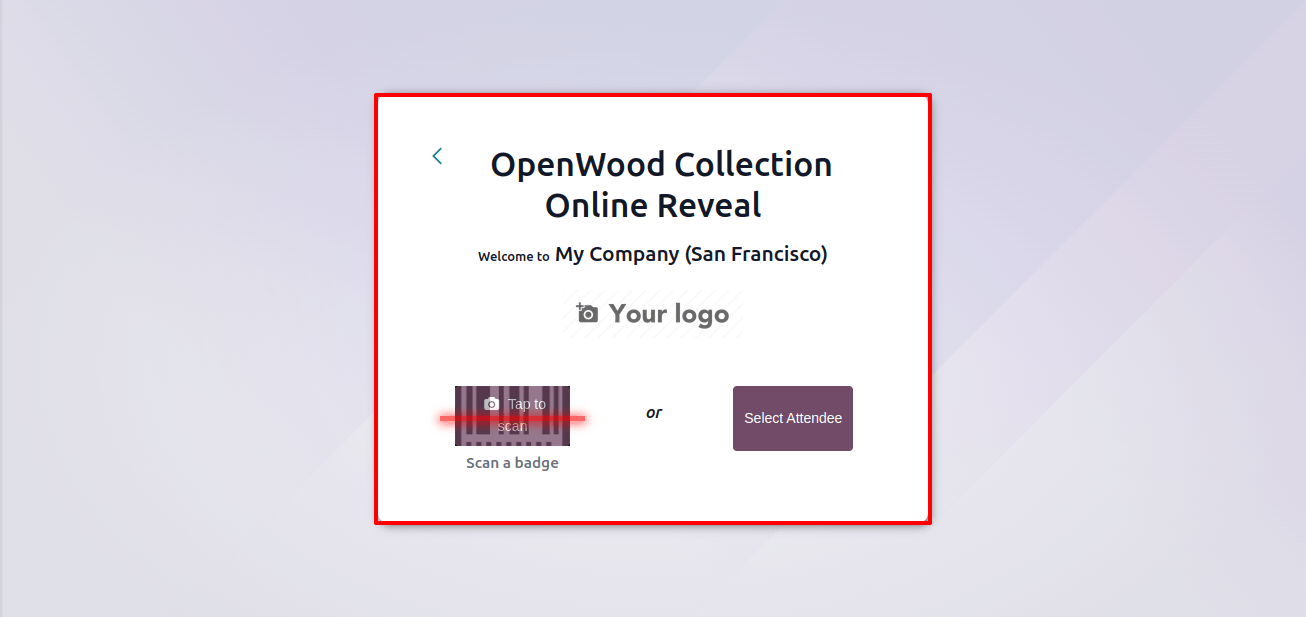
The Odoo 17 Events Module’s ‘Registration Desk’ menu allows users to verify attendance and enter data directly into the system. After clicking the registration desk button, a new window displays.
Guests can confirm their registration by scanning their badges using the ‘Scan a badge’ option, or manually selecting participants with the ‘Select Attendee’ button, as previously described.
Confirming the Attendance/ Canceling the Registration
To monitor the status of your registration, open the attendee configuration form straight from the Attendees dashboard. Here, we can see that the attendee has registered for the event, and we may mark or confirm their attendance using the Attended button or cancel their registration using the cancel registration button, as shown below.

In this case, I just clicked the Attended button, and we can view the attendance information from the event’s configuration form and navigate to the Attendees smart button.
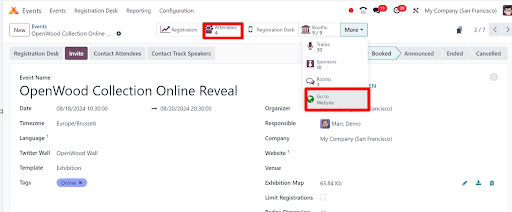
The Attendees smart button will take you to the attendee dashboard, where we can view the status of each attendee, as shown below.

To attend an event, register via the website interface.
Users can easily attend events and register for participation via the web interface.
The Go to Website smart button in the event configuration form can be used to test this feature. As shown below, this will launch the event’s web page interface.
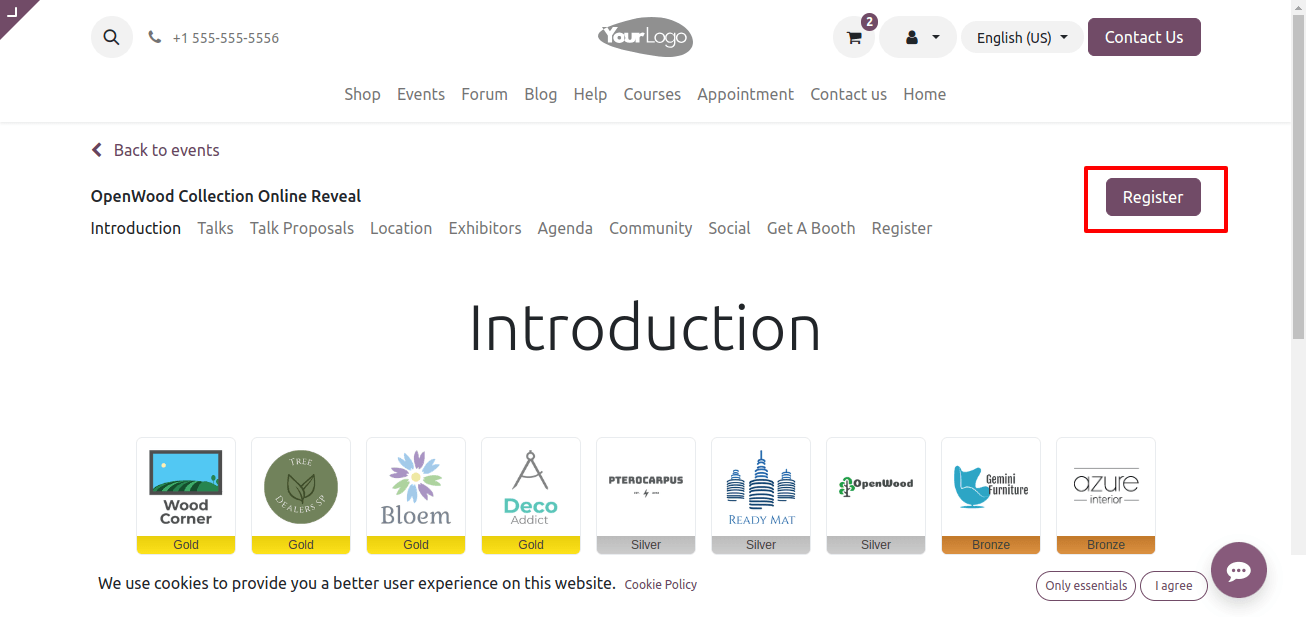
Users can review event details on the page and register for events by clicking the ‘Register’ button on the website. The ‘Regular’ button is positioned on the right side of the website, and pressing it will help customers complete the event registration and payment processes.
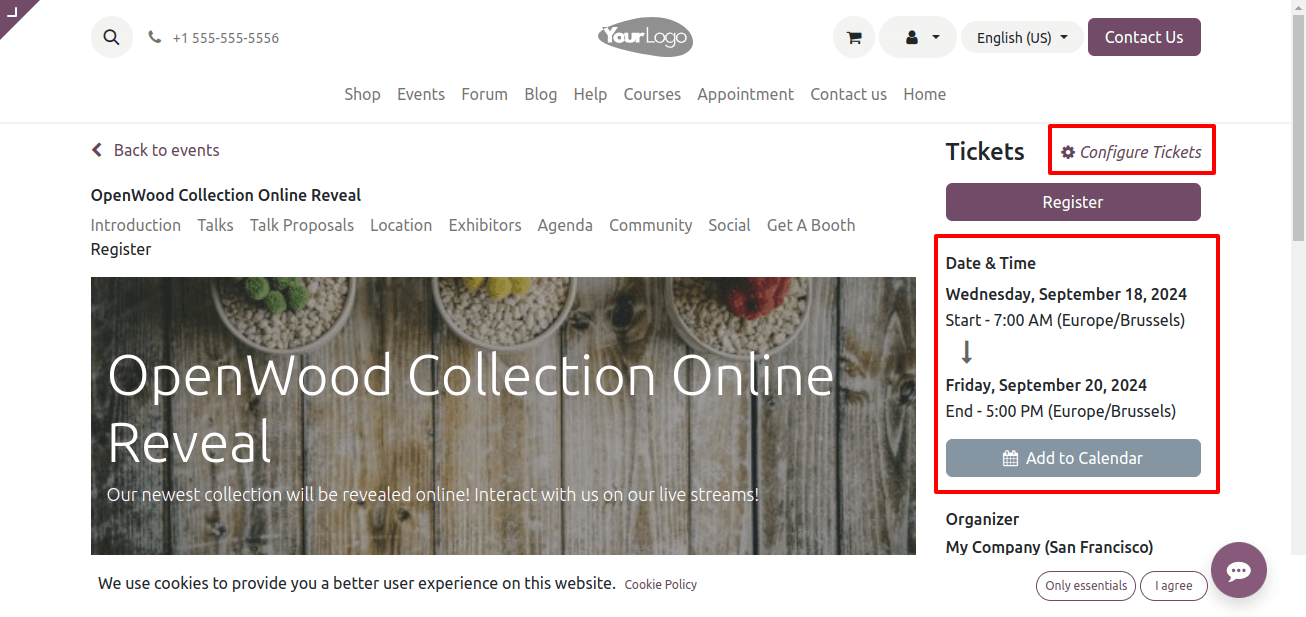
Admin users can personalize event tickets for attendees by using the website’s ‘Configure Tickets’ settings option, as seen above. After verifying your registration, you may view the event details, which include the date, time, venue, organizer, and other information, on this page.
Following the registration process, we must select the ticket price list depending on our current location and the type of ticket (Standard, VIP, etc.) based on the ticket category specified in the settings. Also, select the quantity of tickets from the dropdown count list.
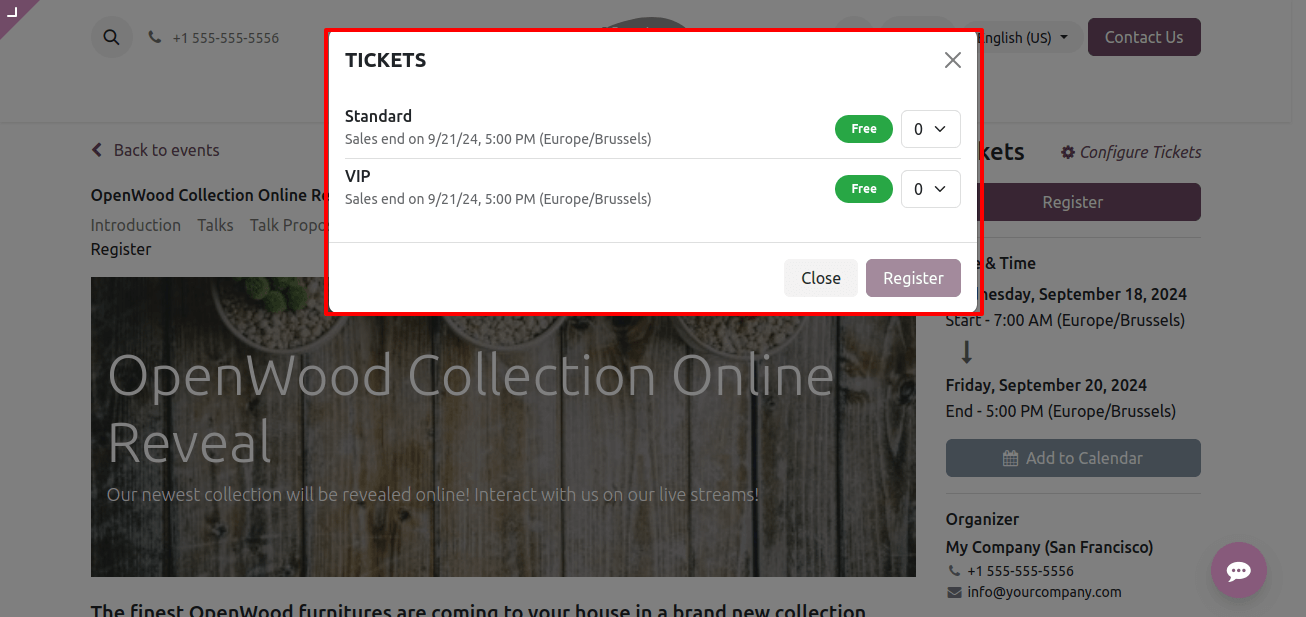
After clicking the register button, you will be brought to the Attendees pop-up box. We can edit the Attendee Name, Email, Phone, and other information as shown below.
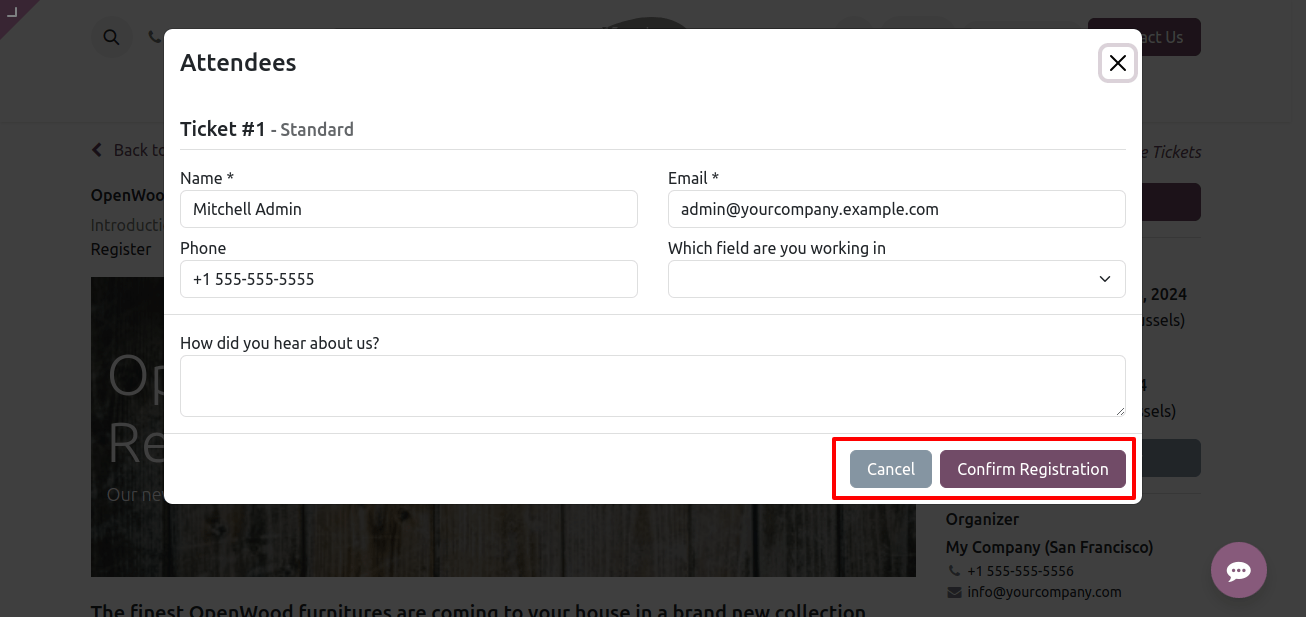
Press the Confirm Registration button twice to complete the registration process.
To summarize, the Odoo 17 Events module’s event registration management offers a simple and effective way to arrange and track participants' attendance.
Event planners may ensure correct registration and a smooth check-in process by using tools such as manual participant selection and badge scanning, which improves overall event management workflows.
