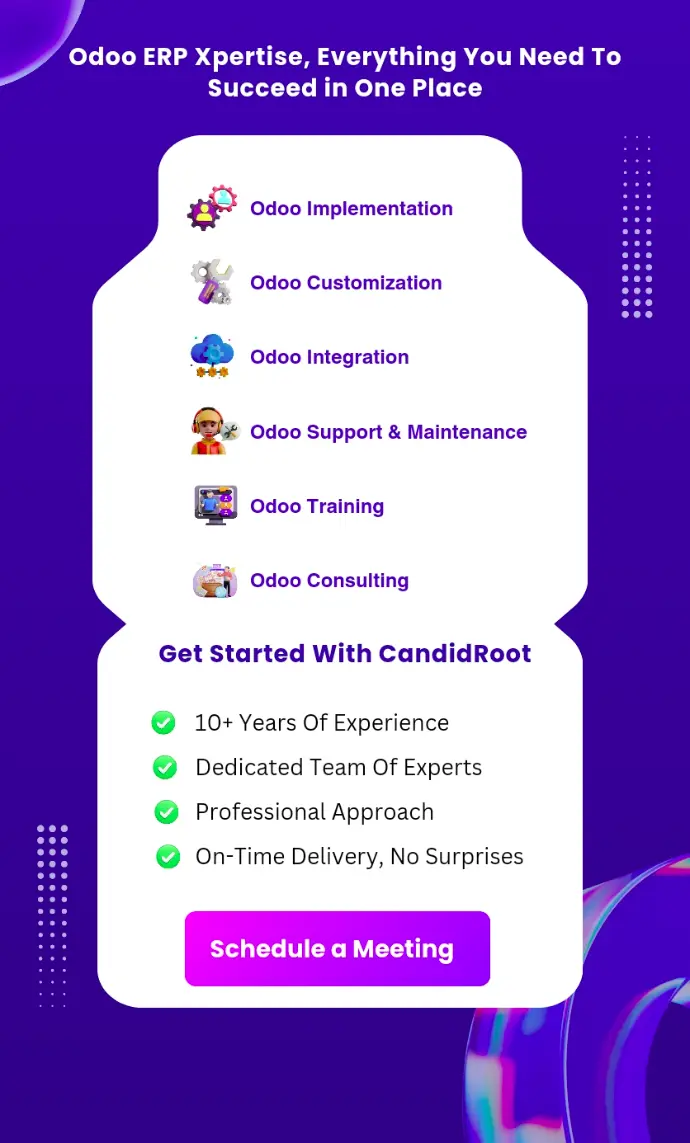
The attendance module of the Odoo ERP software allows you to track and record each employee’s working hours inside a company. It is important for HRM operations in both small and large businesses.
Each employee’s pay is decided by how many hours they work. As globalization progresses, traditional techniques of arranging business personnel’s working hours become increasingly impractical.
The probability of blunders and errors increases when applying the previous method. As a result, a current system type is required. This completely integrated technique reduces the error margin.
The goal of the Odoo 17 Attendance module is to keep track of each employee’s office hours. Work records might be kept daily, weekly, monthly, or annually.
The Odoo 17 employee check-in feature can now be used from outside the app, as shown in the image below. Only the check-in time is shown.
An employee can then complete the transaction by clicking the transaction button. Odoo 17 introduced the Systray Check-In and Check-Out feature.

The Overview menu in the attendance module can help you discover more about the company’s employees. The page includes the employer's name, work hours, and check-in and check-out timings.


When an attendance is opened, the employee’s information is displayed, including their name, working hours, extra hours, and check-in and check-out times. Additional check-in information, including the browser, IP address, GPS coordinates, check-in mode, and localization.
When users click to view on Maps, they are directed to another map page where they can rapidly discover the staff member’s specific positions.

Kiosk Mode
Employee attendance can be added and tagged using the Kiosk Mode option, which supports badge scans and manual recognition.

In this case, you can ‘scan your badge’ using the employee ID. Manually is another alternative for recording attendance. You will then see a page. Before entering the PIN, you can browse the website and select the employee’s profile.

To accomplish this, enable the employee PIN Identification option in the settings menu.
This option now allows you to check in with a PIN code. The PIN code can be found in the employee form’s HR settings. Using the extra hours option in the settings, you can allow the extra hours and compare them to the hours worked.

The number of extra hours will be calculated beginning on the day you provide in the field which indicates the start of the count.
Under the categories "Tolerance Time in Favour of Company" and "Tolerance Time in Favour of Employee," you can specify a time frame during which no additional time will be allowed for the benefit of the company or the employee.
Making a PIN and ID for an employee is a simple process. The employee module contains instructions for developing an employee's profile.

When a new employee is added to the employee module, they can input a PIN and generate a badge ID under the HR settings. Under the kiosk tab, under the PIN code area, you can input a code to check in and out. The badge ID can be revealed by selecting the Generate symbol. You may print the badge by using the "Print Badge" button.

Employees can be identified by scanning their badges on the Kiosk tab. To use the PIN, choose Identity Manually.

The ‘Identify Manually’ option will take you to a website with a list of employees.

Select the right profile from the list. This will open a new page and allow you to enter your PIN.

The following steps should be taken to configure the attendance module for check-in and check-out.
Configuration
Selecting the Configuration menu displays the attendance module’s settings option, as seen below.
After selecting a mode, users can specify how they want to be identified by the Kiosk application in the Kiosk Mode section. Following that, users can log in and out of Odoo using the Attendances from the backend capability.

When consumers see the kiosk settings field, they can identify each software. You can discuss the camera used to scan the barcodes under the Barcode source option.
The display time option chooses how long a greeting message will play in seconds. Once the Employee PIN identification field is selected, employees can use PIN codes to log in to work.
After entering your check-in and check-out information in kiosk mode, click the Save icon. Participation uses the URL specified in the Attendance Kiosk Url section to access your kiosk mode from any device.
Keep in mind that anyone with an internet connection can use your Kiosk. if your current address has been compromised, create a new one.

The next step is to manage the additional hours put up in the Odoo 17 Attendance module. You might find the count extra hours option in the extra hours section, which will help with the attendance count.
By enabling the Count Extra Hours option, you can specify the start date and evaluate attendance based on employee work hours. The Extra Hours option allows you to choose a tolerance time that benefits both the business and the employee.
You may allocate company-specific working hours inside the Tolerance Time in the Company's Favor. In the Tolerance Time in Favor of Employee column, you should also include the time spent supporting an employee from which no additional time is deducted.

Reporting
The Attendance Analysis window shows the count on the Y axis and the employee check-in data on the X axis. Users can view each employee's check-in details in a variety of colors on the graphical depiction.
Selecting the Measures icon allows us to add specific statistics to the graph, such as employee overtime and total hours worked.
Reporting Users can generate weekly, monthly, or annual staff attendance records. In Odoo 17 Attendance, go to the Reports tab to view attendance analysis reports.

The user can view the pivot table in the pivot view, which shows the total number of hours worked by each employee individually. The user can calculate an employee's actual working hours for each month.

The Odoo 17 attendance module makes it simple for businesses to track their employees’ working hours. A corporation could evaluate reports to learn more about it’s employees’ skills and to set goals.