The Kiosk Mode feature in Odoo POS simplifies the interface for self-service use, making it ideal for industries such as retail stores, restaurants, or any other location where customers can interact directly with the POS system without the help of a salesperson.
Kiosk Mode simplifies the user experience by providing a limited number of alternatives and guiding them through the purchasing process.
Steps to Set Up Kiosks in Odoo 17 POS
Configuring Kiosk Mode
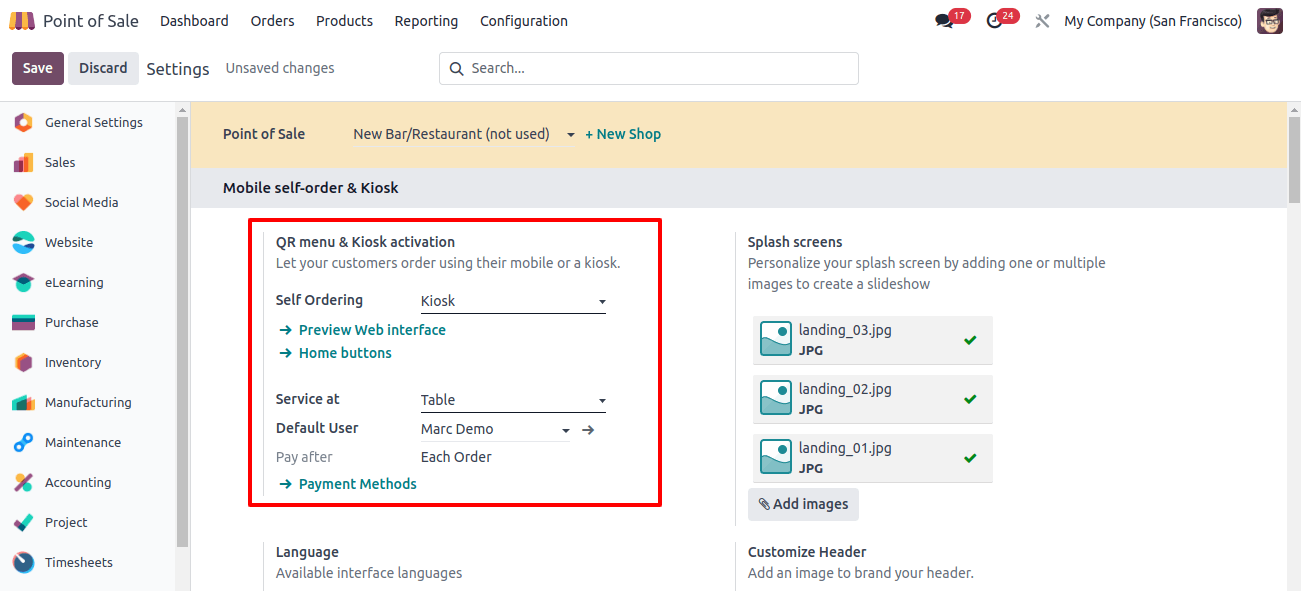
First, log into your Odoo account and navigate to the POS application to allow Kiosk Mode. Once there, navigate to the settings section of the configuration menu, which is normally available via the application menu bar.
Within the Settings page, locate the ‘Mobile self-order & Kiosk’ tab field to allow Kiosk Mode, also known as ‘Kiosk Mode’ or ‘Self-service Mode,’ and activate it to launch the Kiosk interface.
If required, adapt the interface to match your needs, such as selecting items or categories to display, configuring payment methods, adjusting layout and design components, and adding new features.
Web Interface Preview and Adding Home Buttons
Click on the glimpse web interface link to see the kiosk interface. Then, use the Home buttons to configure the buttons within the kiosk home window.
Opening the home buttons link will display a dashboard with all the buttons available in the Kiosk window, including their Label, URL, POS, Style, and Preview, as seen below.

Then, click the ‘New’ button to create a new window, which will open a new editing line where you may enter new labels, URLs, and other characteristics.

Adding Splash Screens
Splash screens are important for app loading and branding, as they provide users with an overview of the app’s features. They set the tone for the user experience, communicate brand identity, provide helpful information, and generate excitement for future content.
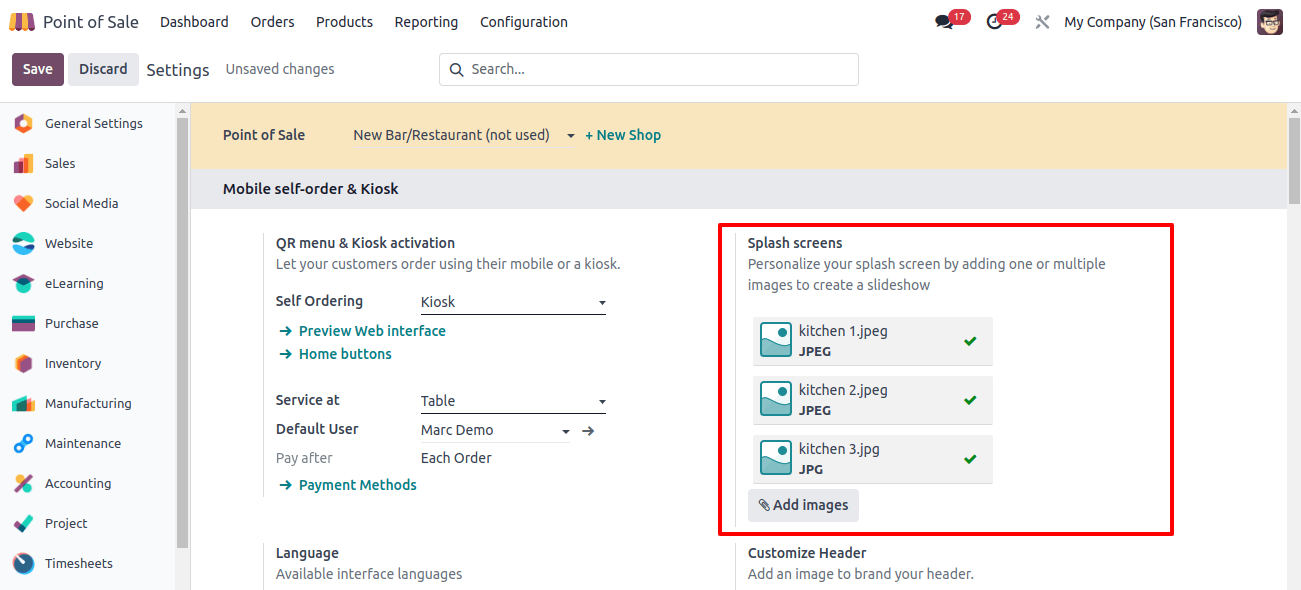
To add custom splash screen images to your kiosk interface, click the ‘Add images’ option in the splash screens part of the kiosk settings page.
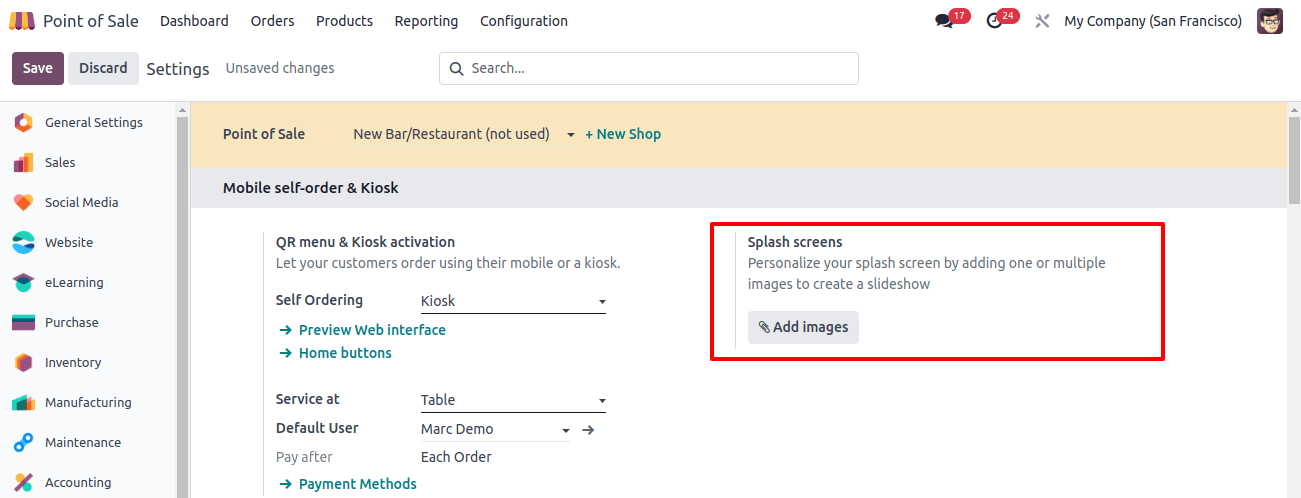
Before proceeding, make sure you have personalized photographs on your smartphone to use as the splash screen. Selecting the ‘Add images’ option will open the device’s storage, allowing you to select appropriate images. In this case, I’m using previously downloaded sample photographs and then saving them.
Payment Methods
To select payment methods for ordering and billing, navigate to the ‘Payment Methods’ link on the kiosk settings page. The opened window displays the possible payment methods, as shown below.

The dashboard will show a fast summary of the method, journal, company, and POS. Use the ‘New’ option to add a new payment method. We can see that this POS has some predefined payment options, including bank, cash, and customer accounts.
Setting Interface Language
Selecting a handy language option from the ‘Language’ section allows you to define the language used in the Kiosk interface.

Set a Default Language and various available languages in the applicable functions, as seen in the image above.
Eat In/Take Out
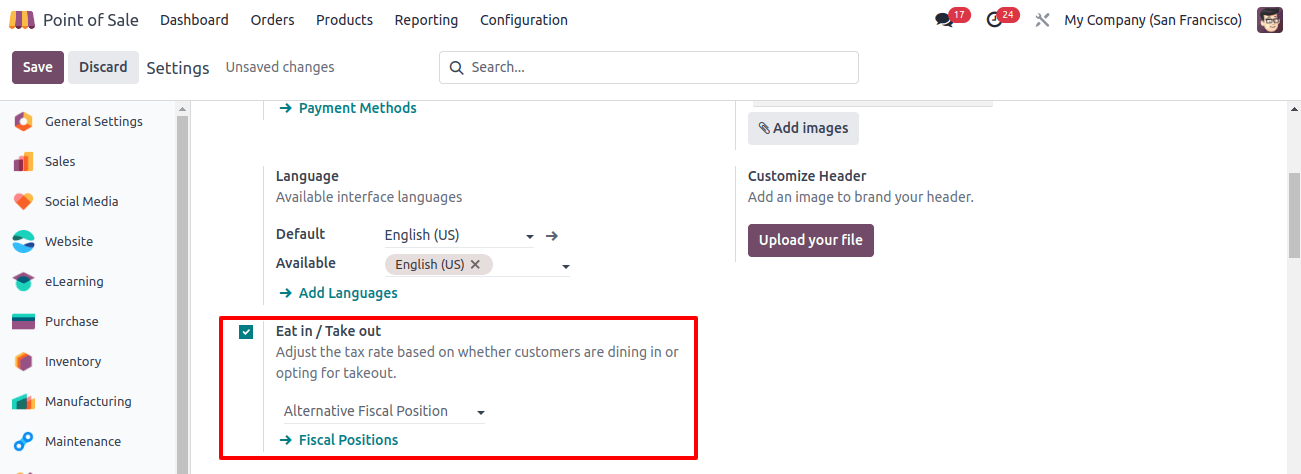
Tax rates can be altered in the ‘Eat in/Take out’ section by selecting a Fiscal Position, which will apply the tax rate unique to that fiscal position. In this case, I’m selecting a random fiscal position to help with tax management.
Use the Fiscal Position option beneath the Eat in/Take out section to create personalized tax rates based on your business locations or other needs.
The link provides information on how to configure Fiscal Position in Odoo.
Customize Header
The Customize Header option allows you to add a custom header picture to your Kiosk mode window. To add an image file from your device’s storage to the Kiosk mode window header section, use the ‘Upload Your File’ button.
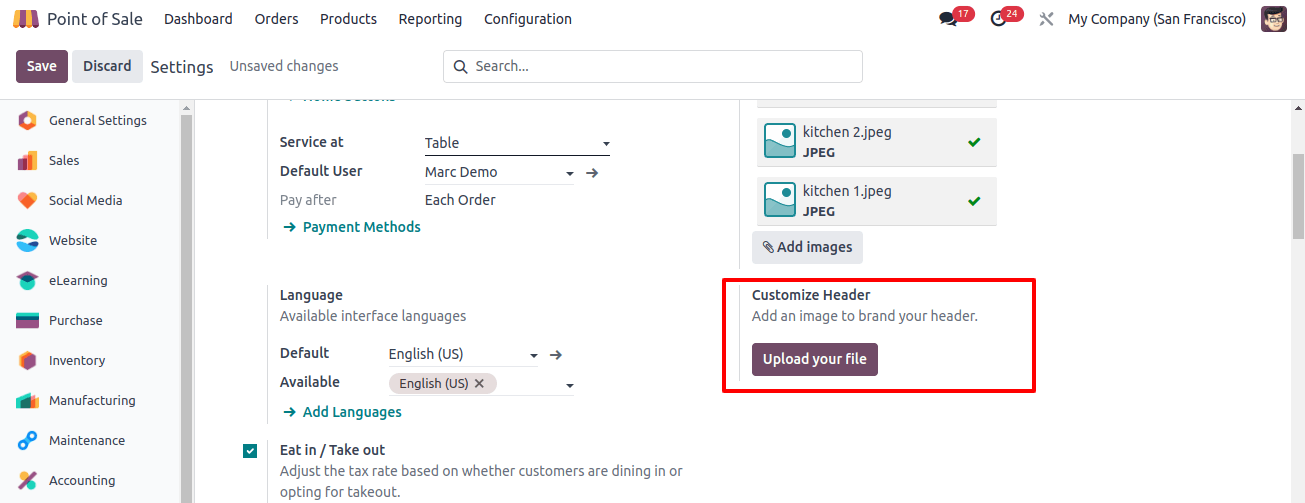
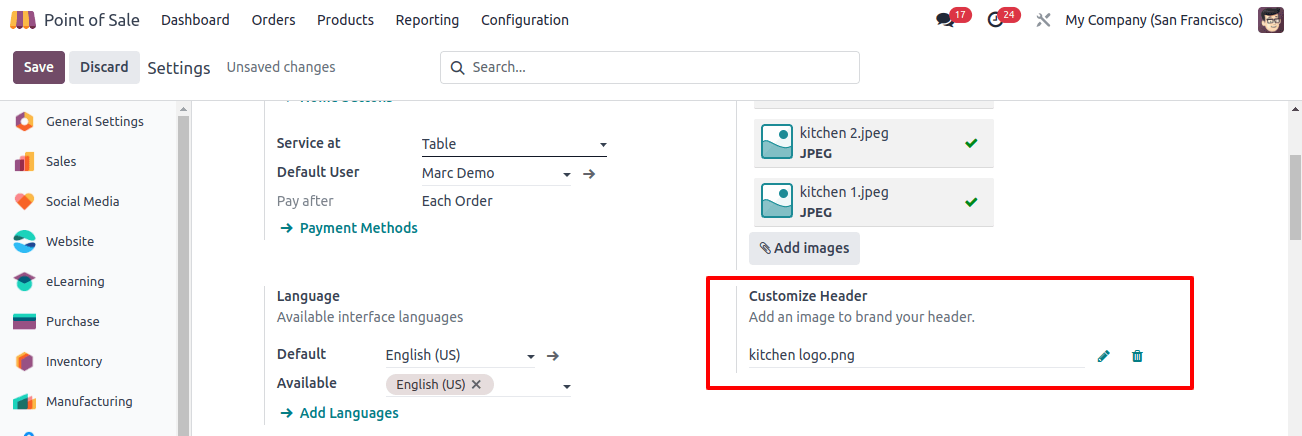
When you click the ‘Upload Your’ button, the device storage field will be displayed. When you select the image file, it will be added to the customer header box, as shown below.
Consider implementing controls within Kiosk Mode to limit specific activities or features, such as blocking access to settings or administrative duties, to prevent illegal changes and improve the self-service experience.
After saving the Kiosk setup settings, return to the POS Modules Dashboard panel. You will note that Kiosk interfaces are accessible for the chosen shop. To enter or launch kiosk mode, press the ‘Start Kiosk’ button, as seen below.
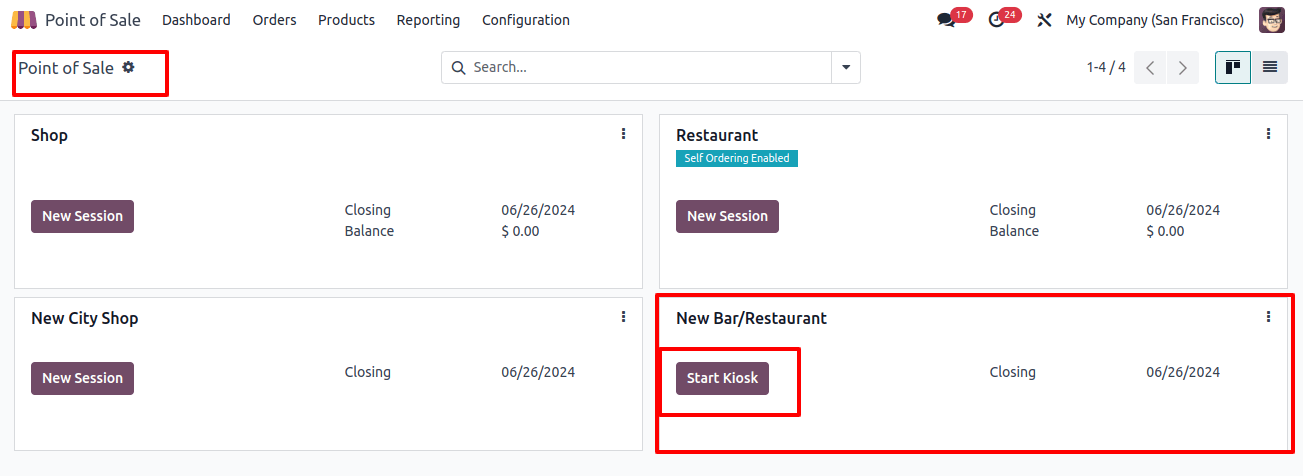
Starting a New Kiosk Session
The start Kiosk button will open a small dialog box in which you can choose whether to open the self-kiosk in a new tab or close the current window, as seen below.
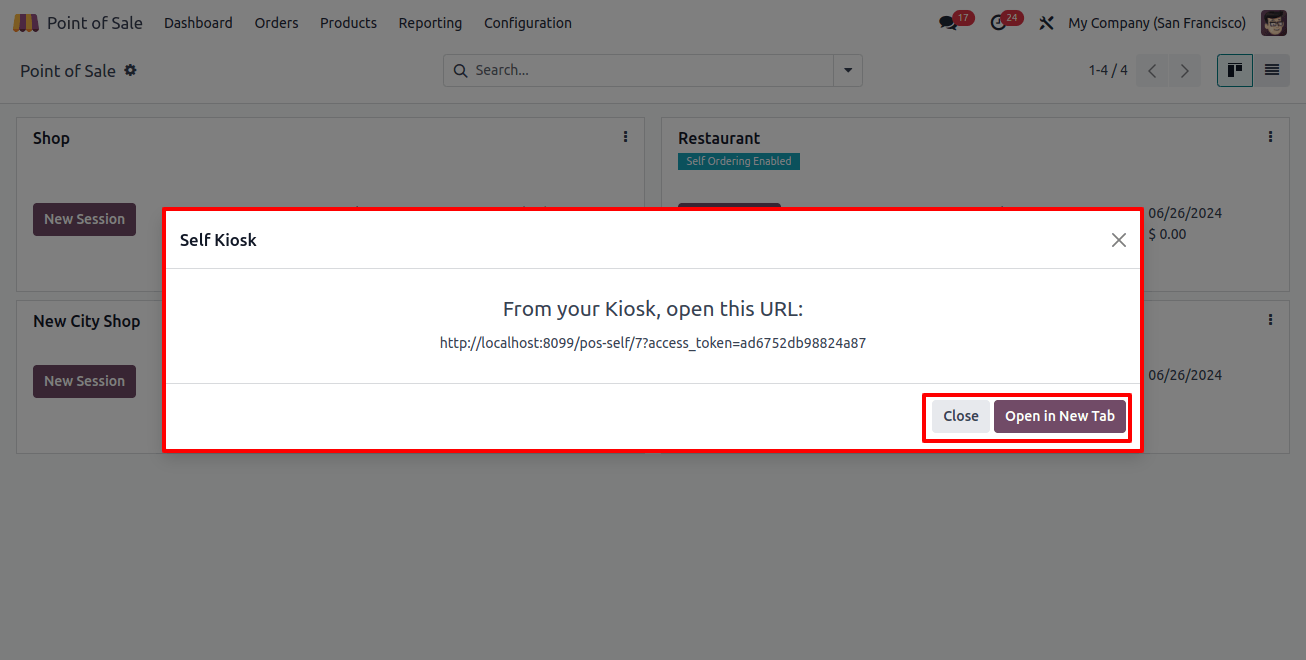
We’re choosing the new tab option, so click the ‘option in New Tab’ button. This step will open the Kiosk window and display the preset images as flash screens.
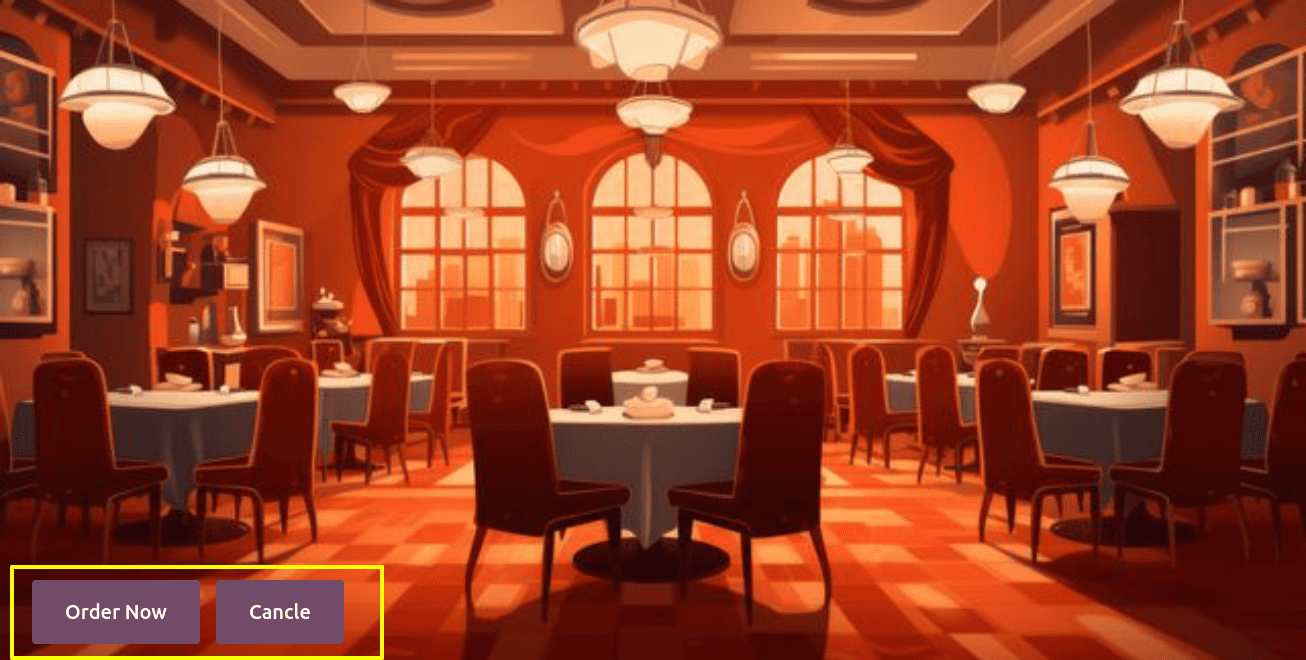
You can order the items by clicking the 'Order Now' button. When you click this button, you will be prompted to pick between two methods, such as Eat In or Take Out.
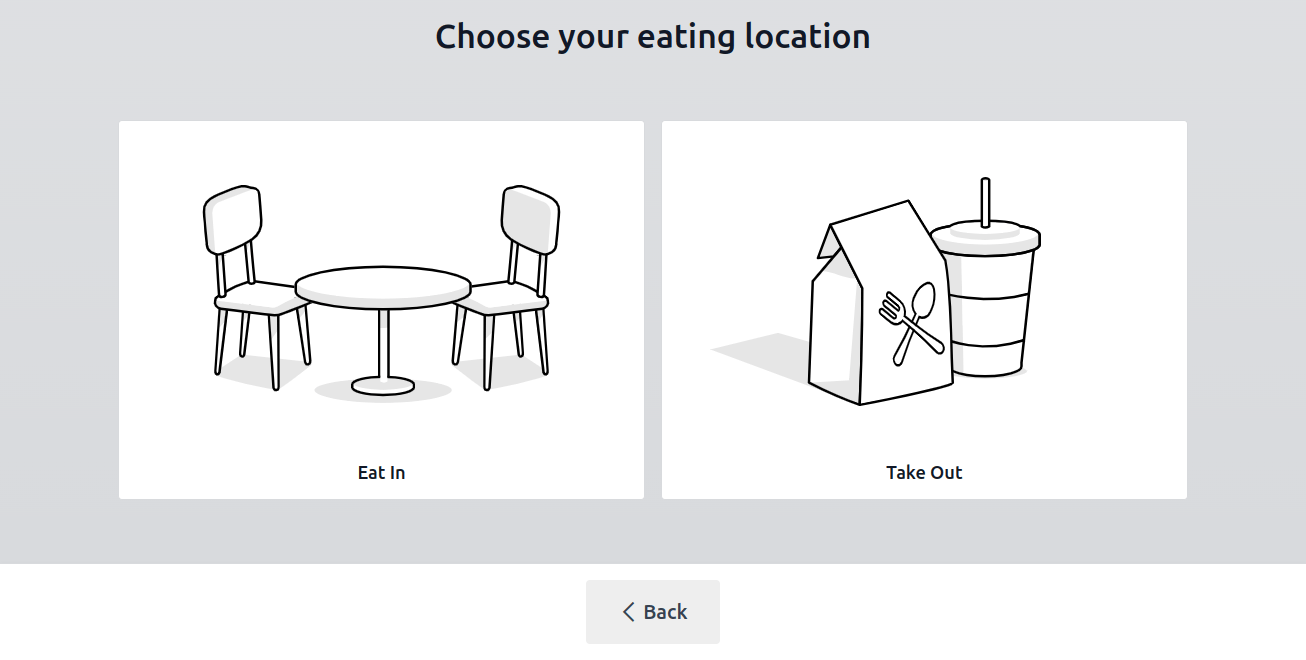
In this case, I'm choosing the "Eat-in" option. This operation causes the product catalog to display available categories, allowing us to select the desired products. The entire value of the selected products will appear on the page under the term "Your Order," as shown in the screenshot below.
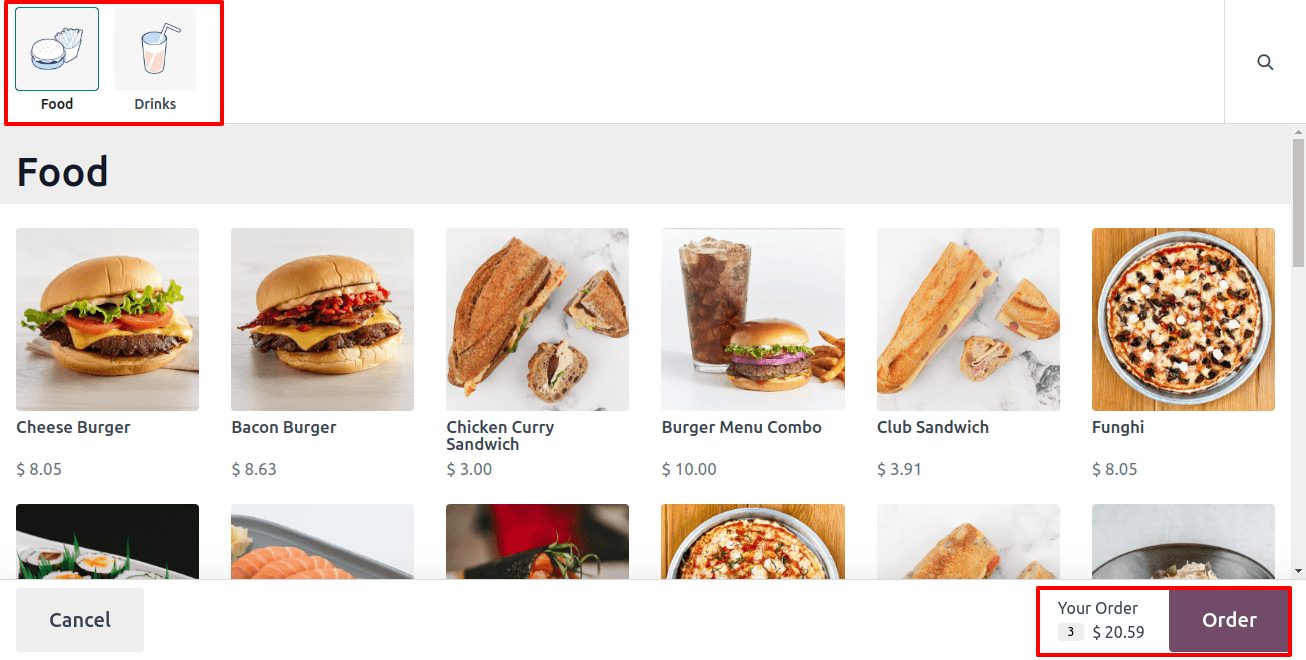
After you've decided on the products, click the 'Order' button to confirm the order. This will display a complete list of the ordered products.
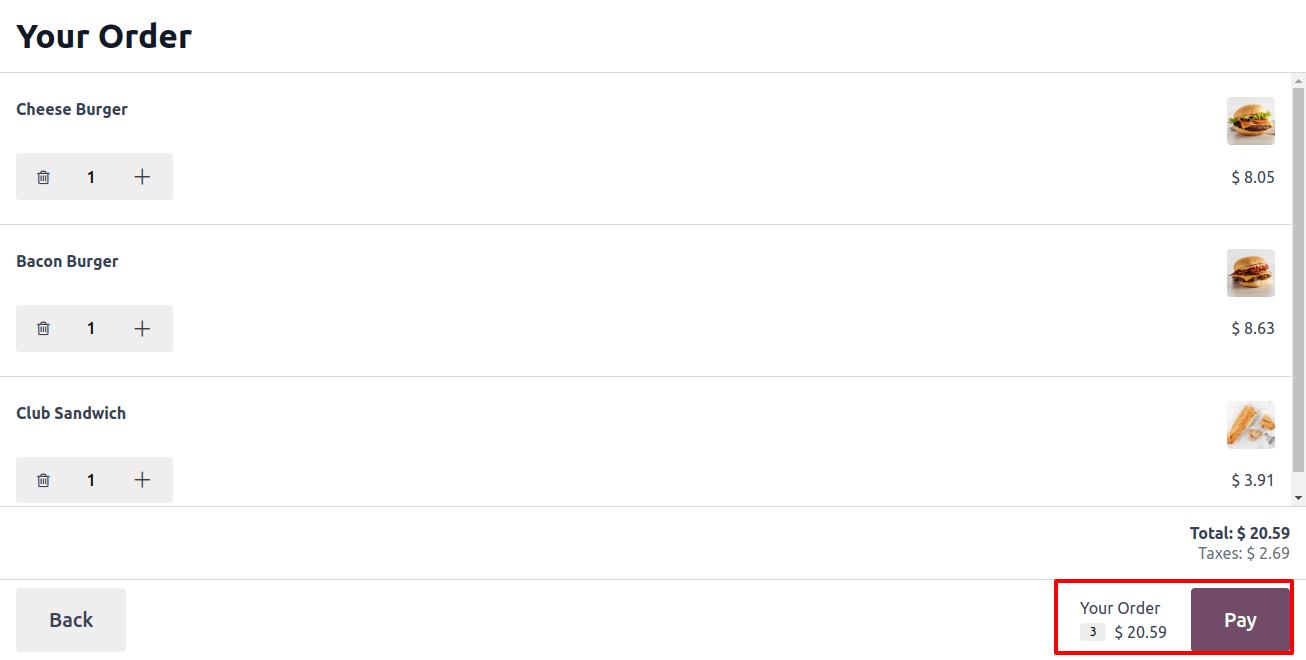
After confirming the order, we can click the 'Pay' option. This step will bring up a window where we must input the table number to track the order.
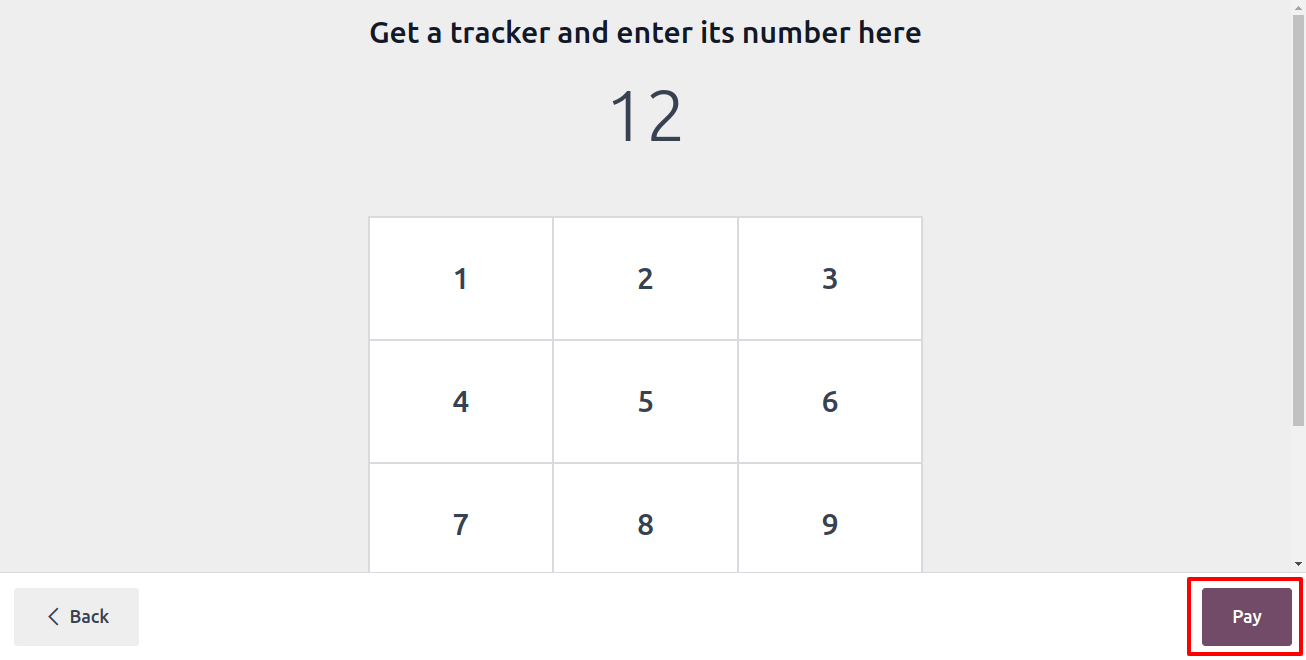
Once you have entered the tracker number, click the 'Pay' button again. This completes the ordering process, and you may now await the arrival of the requested products at the specified table.
After finishing the order procedure, you will receive a message that includes the Order Number, Table Number, and Billing Amount, as seen below.
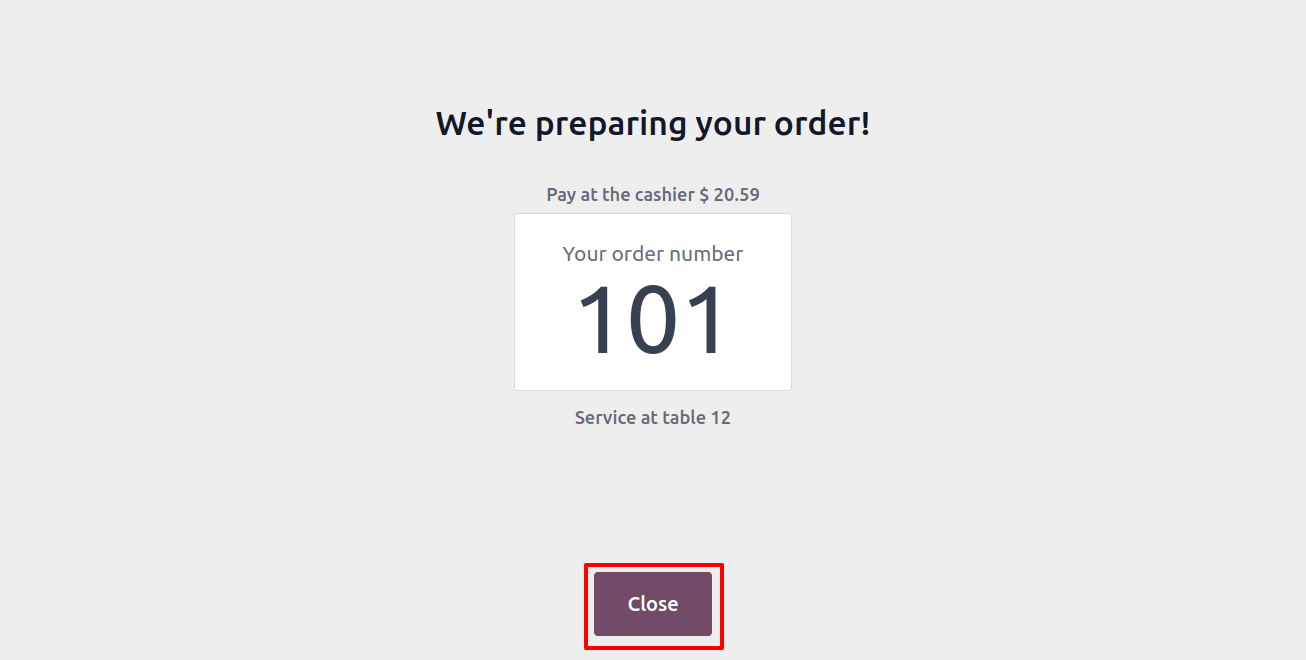
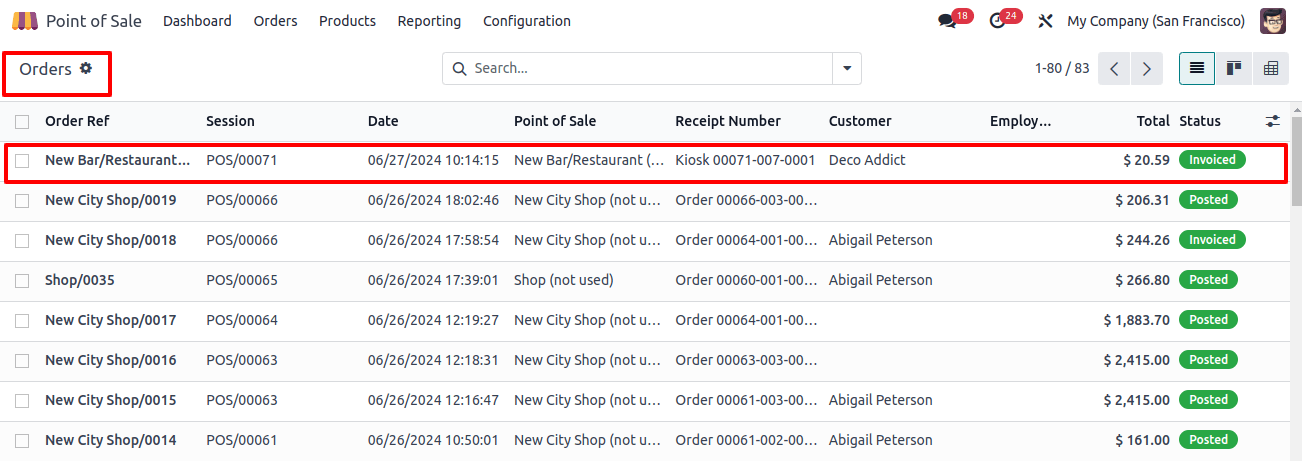
After closing the window, we can view the order details in the 'Orders' window of the Orders menu.
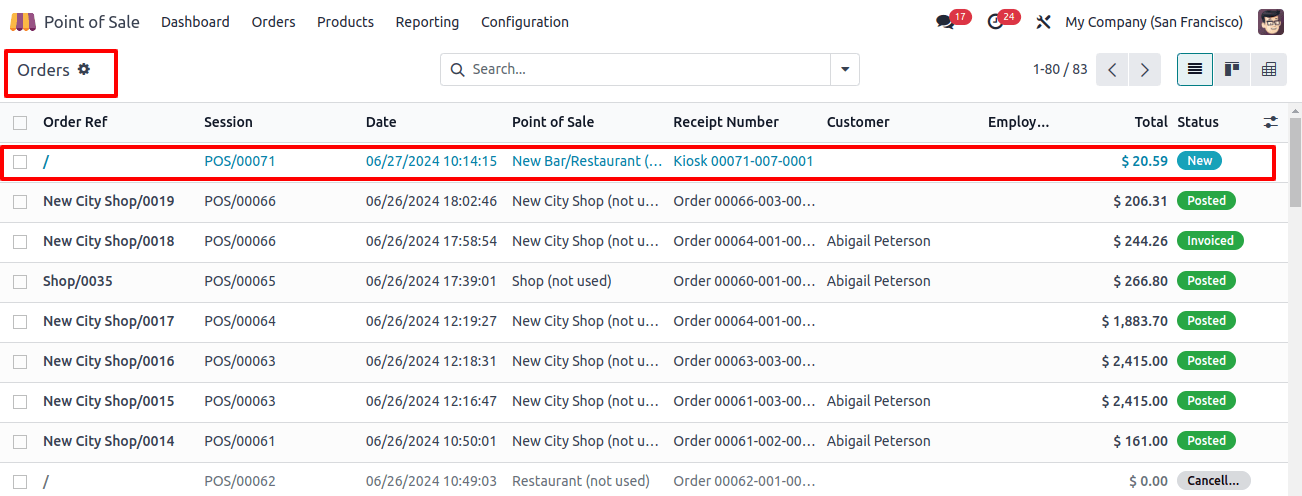
Once you've opened the form view for this order, you may see the detailed order details, tax rates, and other information.
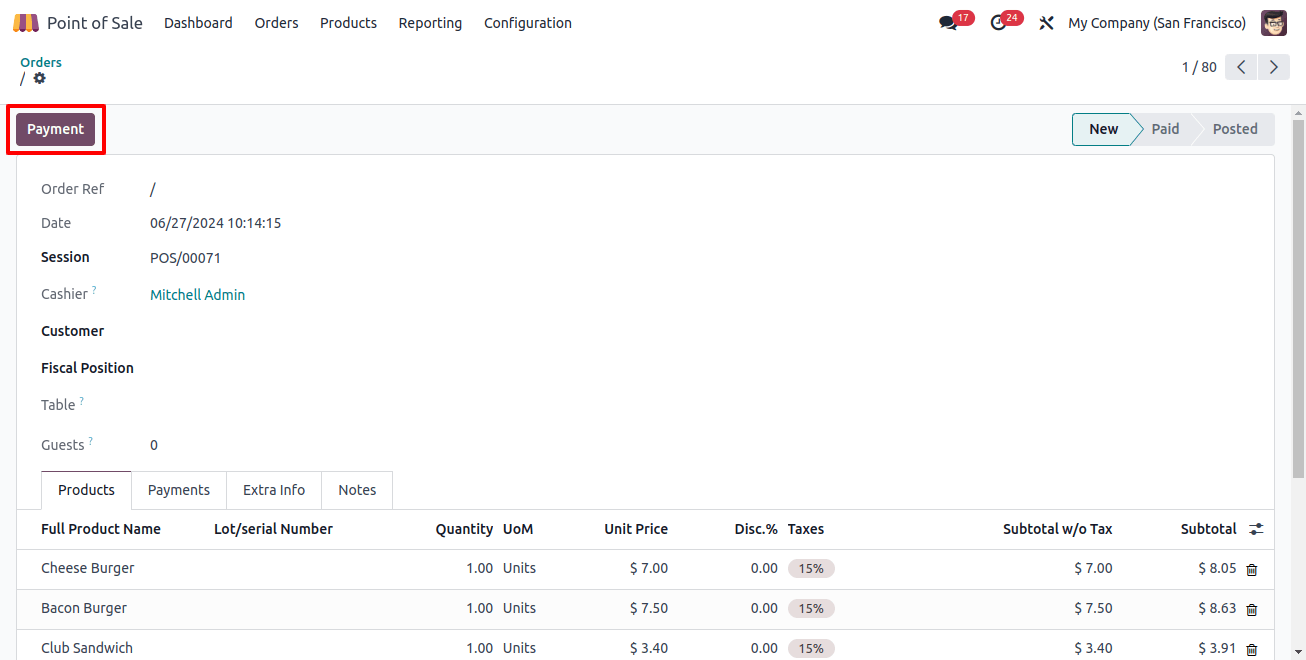
We can enter the Customer Name and Fiscal Position in the appropriate fields inside this form view and make payments utilizing the Payments button on the upper left side of the page. Pressing the Payments button opens the Payment window, which displays the Payment Method, Amount, and Payment Reference, as seen below.
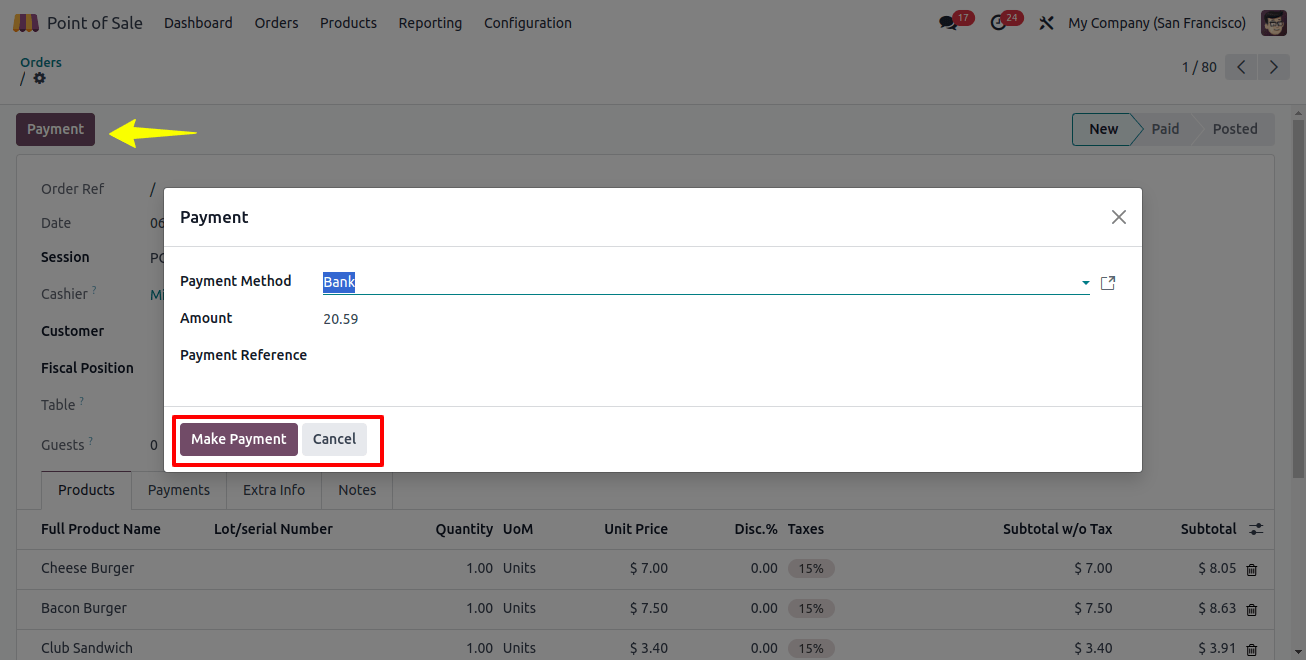
Check the payment details and click the Make Payment button. This will create an Invoice button.

Before invoicing the customer, enter their name and press the Invoice button. This will process the payment, generate the invoice, and display the PAID ribbon seen below.
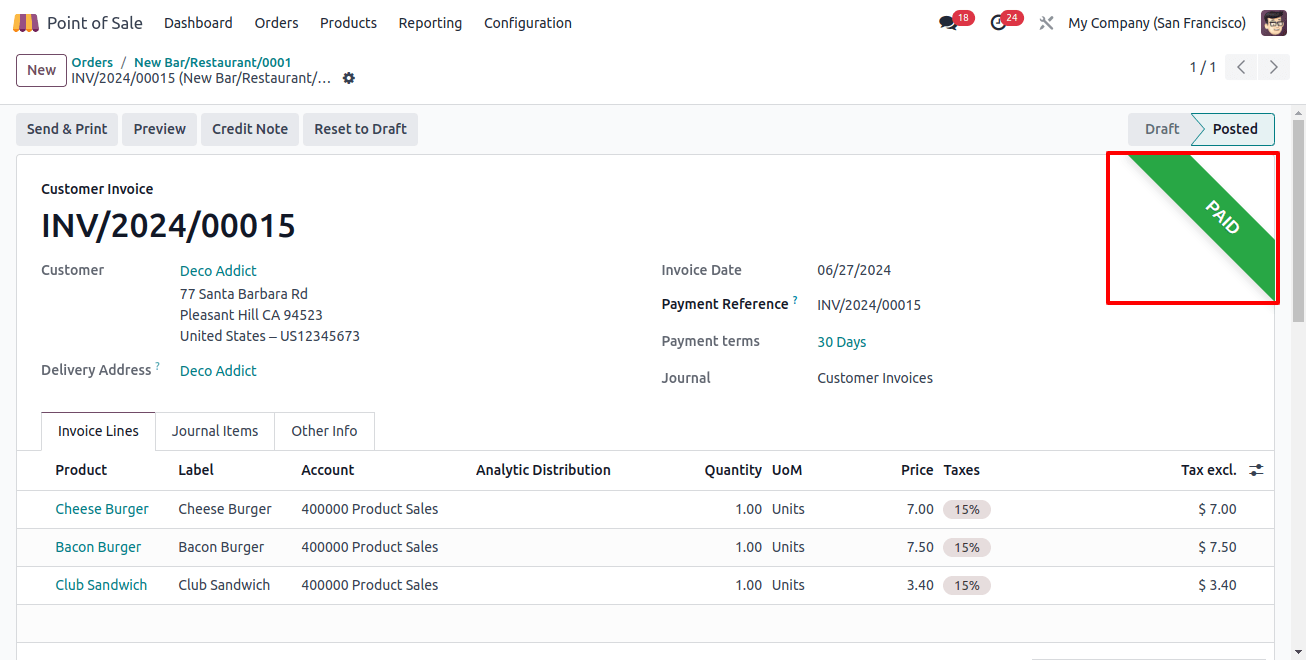
We can then use the Send & Print, Preview, Credit Note, and revert to Draft buttons to send and print the invoice, examine the invoice preview, create credit notes, and revert it to draft status.
After completing all of the Payment and Invoicing steps, we can view the order's status as Invoiced on the Orders dashboard page, as seen below.
With these steps, you can efficiently administer a kiosk system in Odoo 17 Point of Sale, giving clients a smooth and simple self-service experience.

