In Odoo 17, the Billing Rate Target feature enables companies to specify specified financial targets for billing rates, assisting in the monitoring and achievement of targeted revenue goals.
This feature allows users to set target billing rates for personnel, projects, or tasks, giving a baseline for comparison to actual charges.
The Leaderboard function adds to this by providing ranks based on different performance measures, such as billed hours or revenue made.
It provides a visual picture of individual or team performance, which encourages healthy competition and motivation. These elements work together to help businesses manage and optimize their billing operations more efficiently.
To test the functionality of the Billing Rate target option, access the Timesheet module. Then, go to the Configuration option to see the settings. To begin, the user must enable the Leaderboard option in the settings.
: Configuration > Settings > Billing Rate Target and Billing Rate Leaderboard
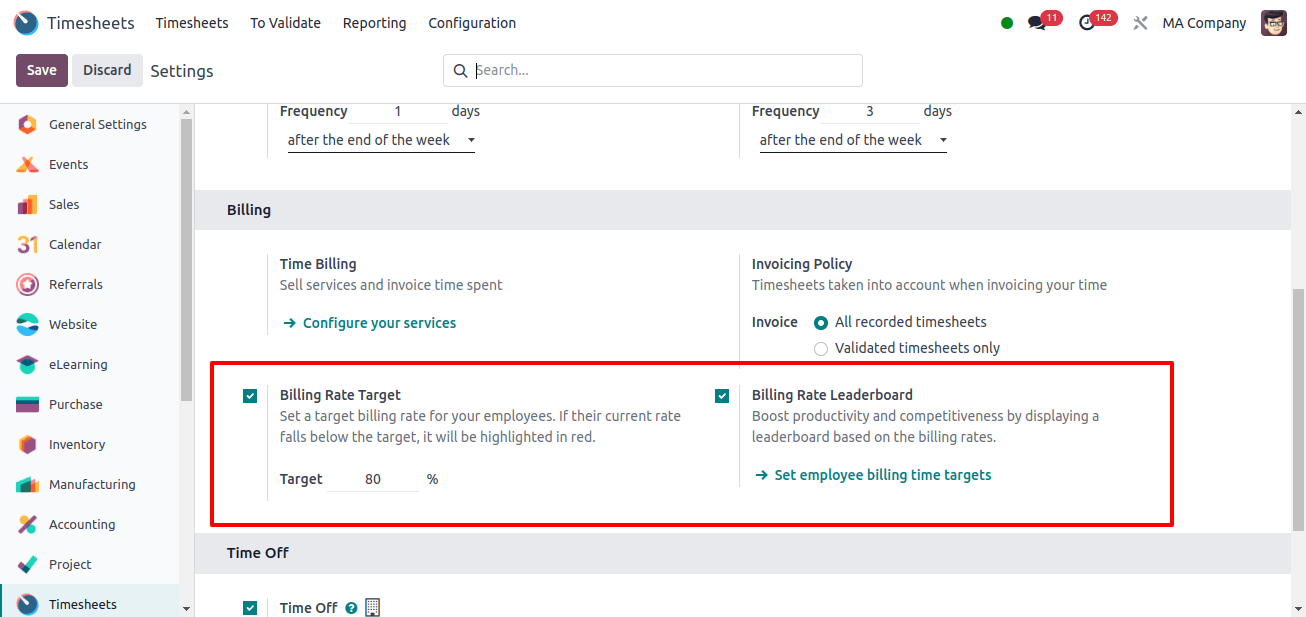
Enable the Billing Rate Target to set a target billing rate for your employees. Next, enter your desired rate as a percentage. If their current rate falls below the specified objective, it will be highlighted in red.
Once you enable the Billing Rate Target, you will see an additional option named Billing Rate Leaderboard. By displaying a leaderboard based on billing rate, the billing rate leaderboard option can help to increase productivity and competition.
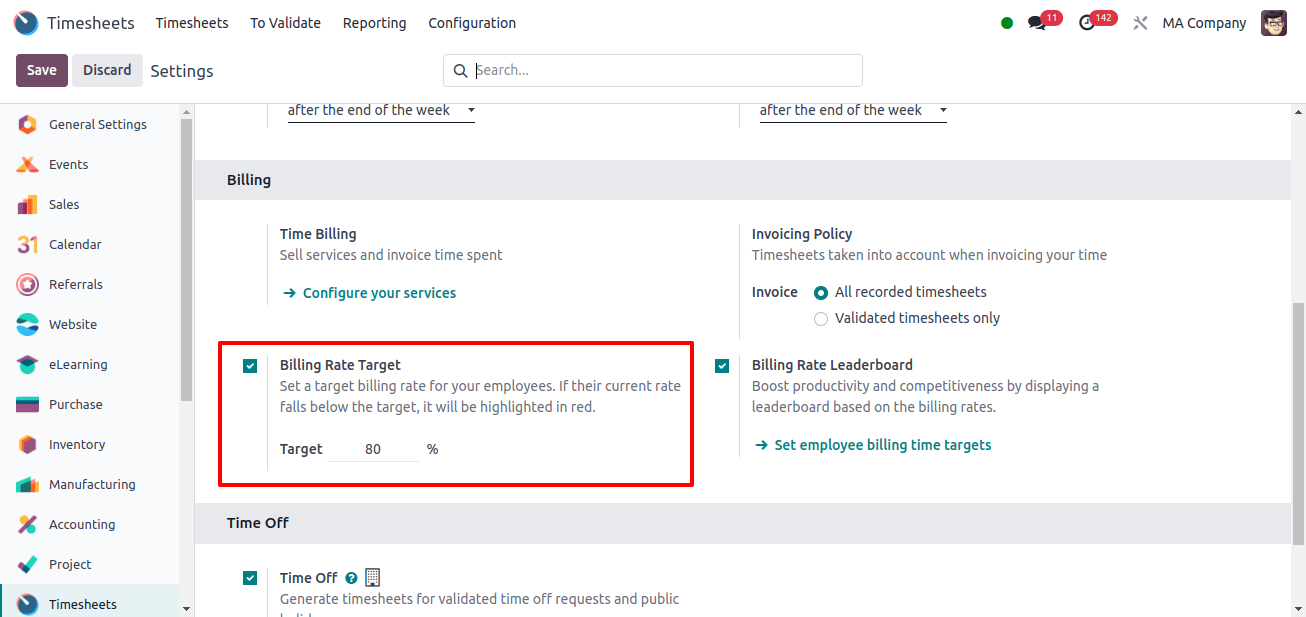
Billing Rate Target
So let’s look at the Billing Rate Target option first. Here, select the Billing Rate Target option and set the target rate to 80%. Then, save the updated settings.
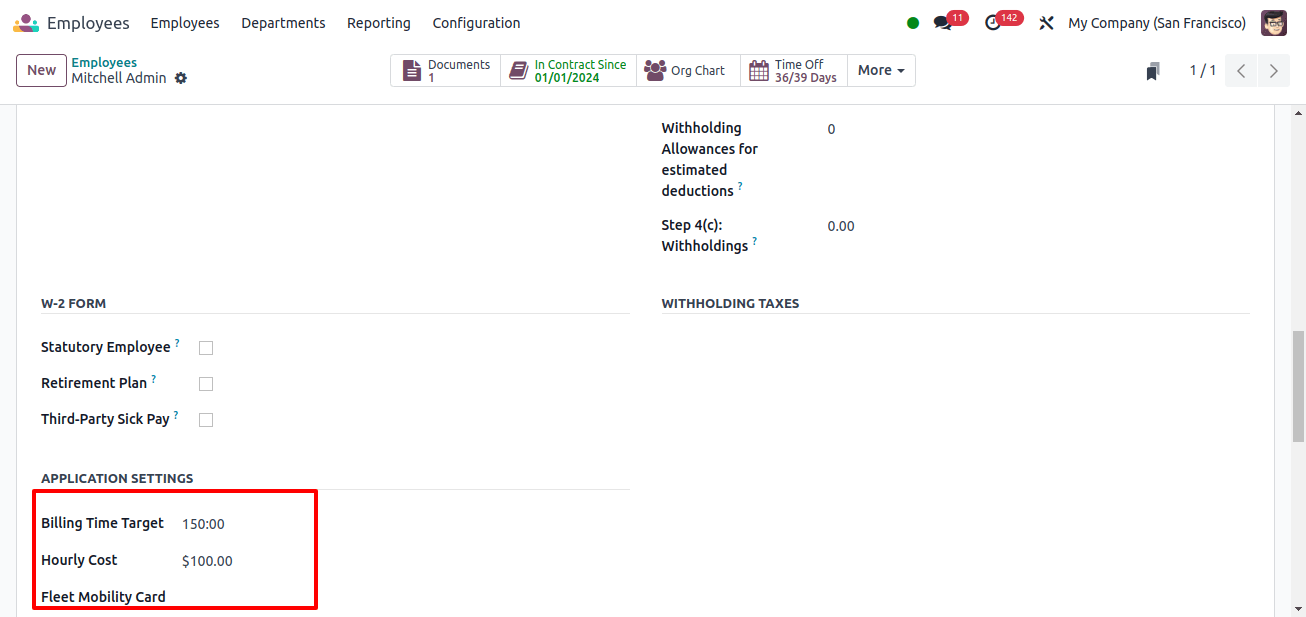
In this situation, the total billing goal value and total timesheet added will be used to calculate the total % target, which means that the user must set each employee’s total billing goal time. To access the employee form, visit Odoo 17’s employee module.

Next, choose an individual. The employee form contains all of the employee’s information, such as their name, job title, work cell phone number, work email address, department, manager, coach, and so on.
Then, there are four options labeled ‘HR Settings,’ ‘Work Information,’ ‘Private Information,’ and ‘Resume.’ The Resume tab lists the employee’s resume and skills.
The work information tab contains information about work locations, scheduling, and overtime. The private information field contains information on employees’ domicile, family size, and educational history.
The HR Settings tab has sections for STATUS, APPLICATION SETTINGS, & ATTENDANCE/POINT OF SALE.
Users can set the employees’ billing time targets in the APPLICATION SETTINGS section. Currently, the employee’s billing time target is 150 hours.
To access their timesheet, the employee must sign in with their credentials. Once again, navigate to the Timesheet module. The dashboard displays the timesheet added by the logged-in employee. The billing rate data is provided on the right side of the dashboard.
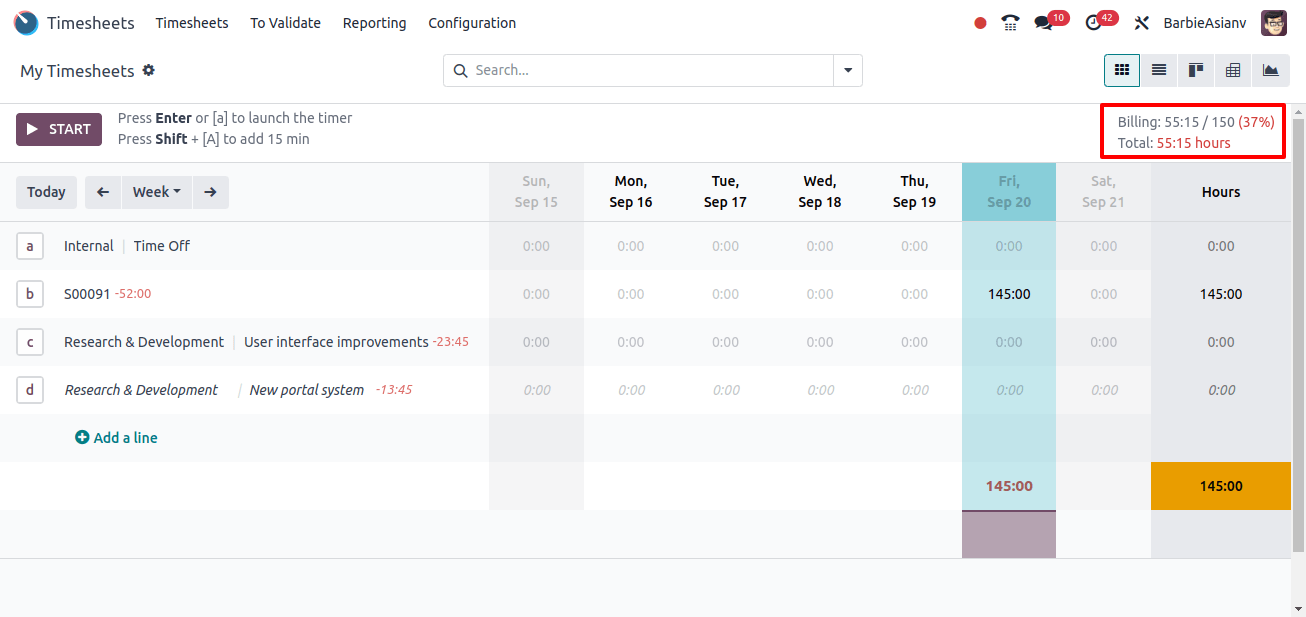
The employee’s time billing target has been set to 150 hours. However, the employee included 55 hours on the timesheet. Here, 55 hours represents the employee’s total time added. This represents only 37% of the total goal.
The user set a billing rate target of 80%, thus the employee’s added time is less than the billing rate target. So it will be highlighted in red because the employee’s current rate is less than the desired target.
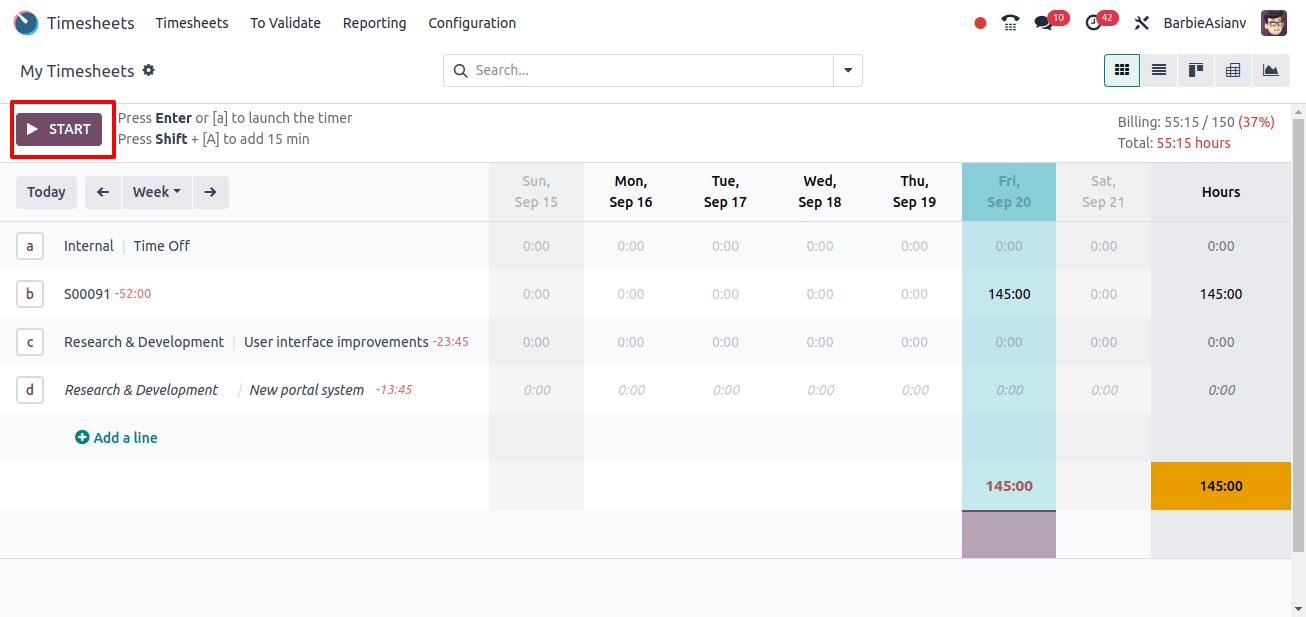
Let’s see what occurs if the employee’s time added exceeds the billing rate target. So create one additional timesheet. To do this, click the START button.
The employee then added one additional timesheet for 90 hours. The total time added is currently 145 hours. This signifies that the employee contributed 97% of the overall goal.
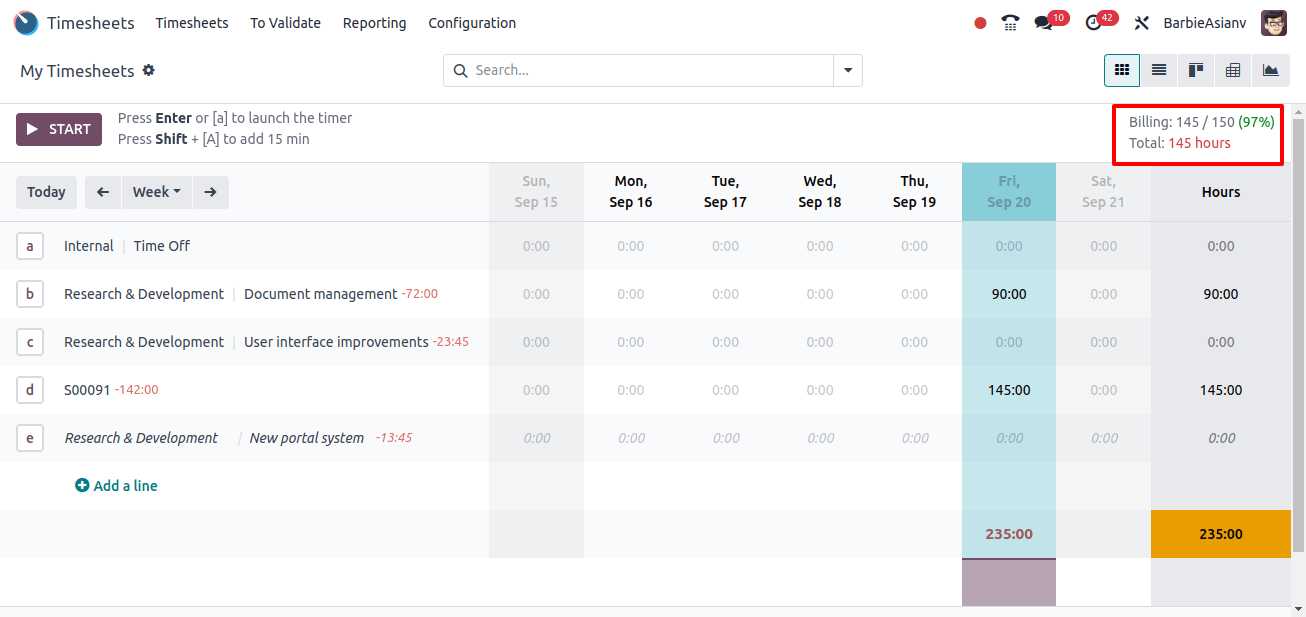
Here, the user sets a billing rate objective of 80%, thus the employee’s time added exceeds the target. So it will be highlighted in green because the employee’s current rate exceeds the specified goal.
Billing Rate Leaderboard
The second choice is Billing Rate Leaderboard. Enable the option to display the leaderboard on the timesheet. The leaderboard improves productivity and competitiveness by providing a leaderboard based on an employee’s billing rate.
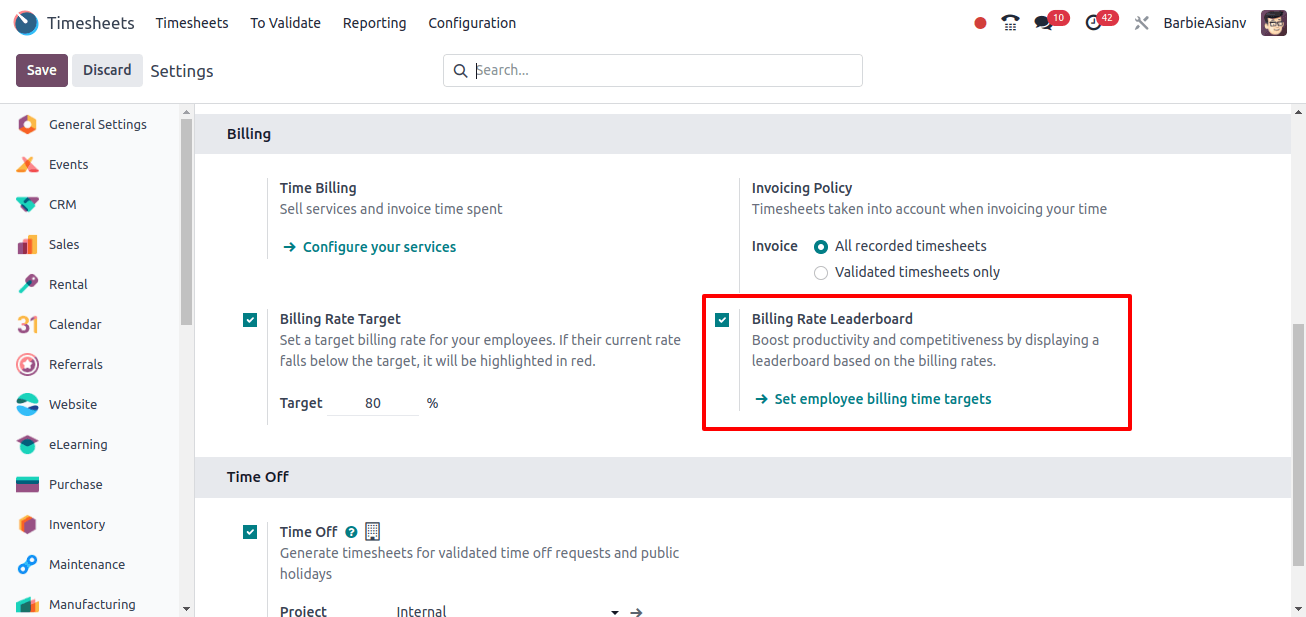
Simply save it when you’ve enabled the options. To view the leaderboard, the employee must sign in with their credentials. Open the Timesheet module after that. The image shows an additional leaderboard on the right side of the screen.
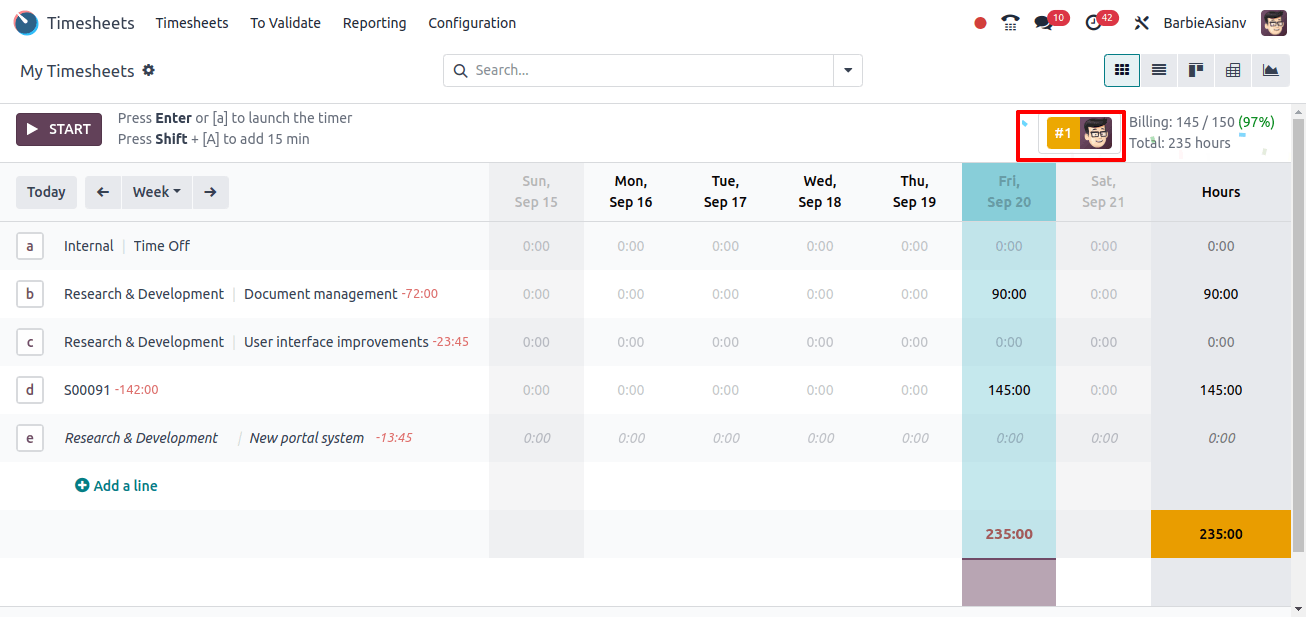
To see the leaderboard, click on it. There is a Billing Rate Leaderboard displayed. Adham John, Mitchell Admin, and Toni Jimenez are in the top three based on overall billing rate.
The leaderboard shows their total added time, as well as the percentage of both added and total time. There is then a list with the billing rates of the other employees.
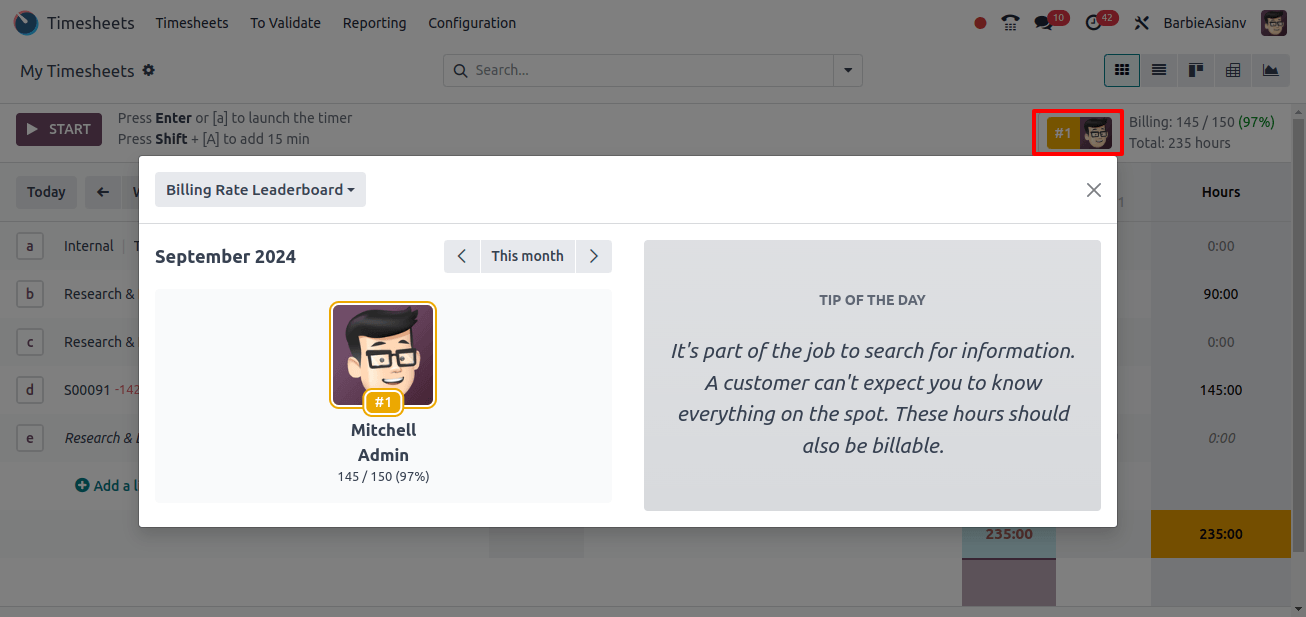
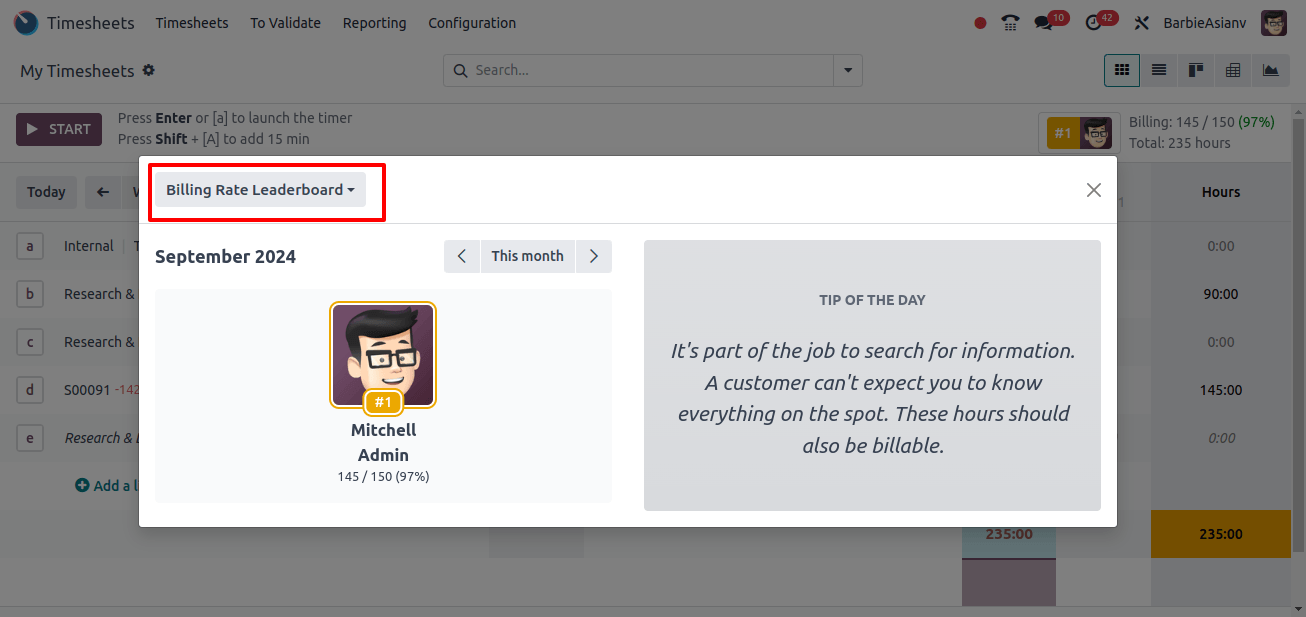
The Total Time Leaderboard was also displayed there by altering the type, which may be selected from the left underside of the leaderboard, as shown in the image below.
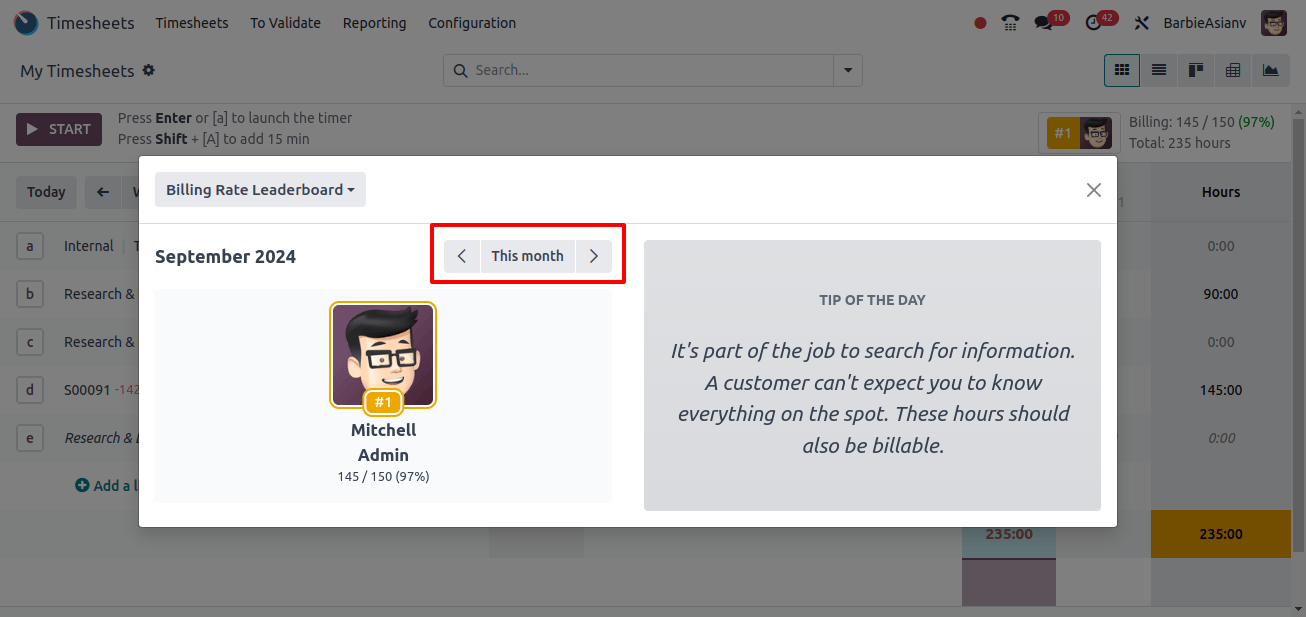
If the employee wants to see the prior month’s leaderboard, it is also available. As seen in the image below, there is a filter with an arrow that allows the employee to adjust the month.
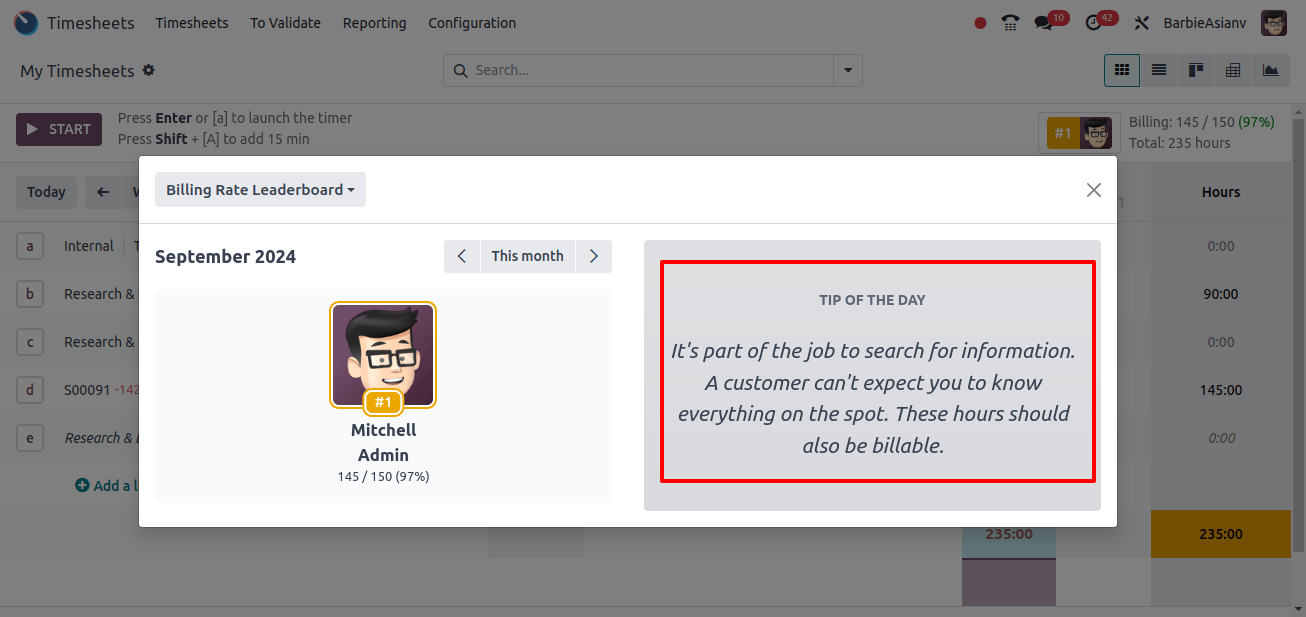
The TIP OF THE DAY, displayed on the right side of the scoreboard, helps to motivate employees' performance.
Then you can configure other tips. First, close the Leaderboard and select the Configuration menu. It displays the option Tips.
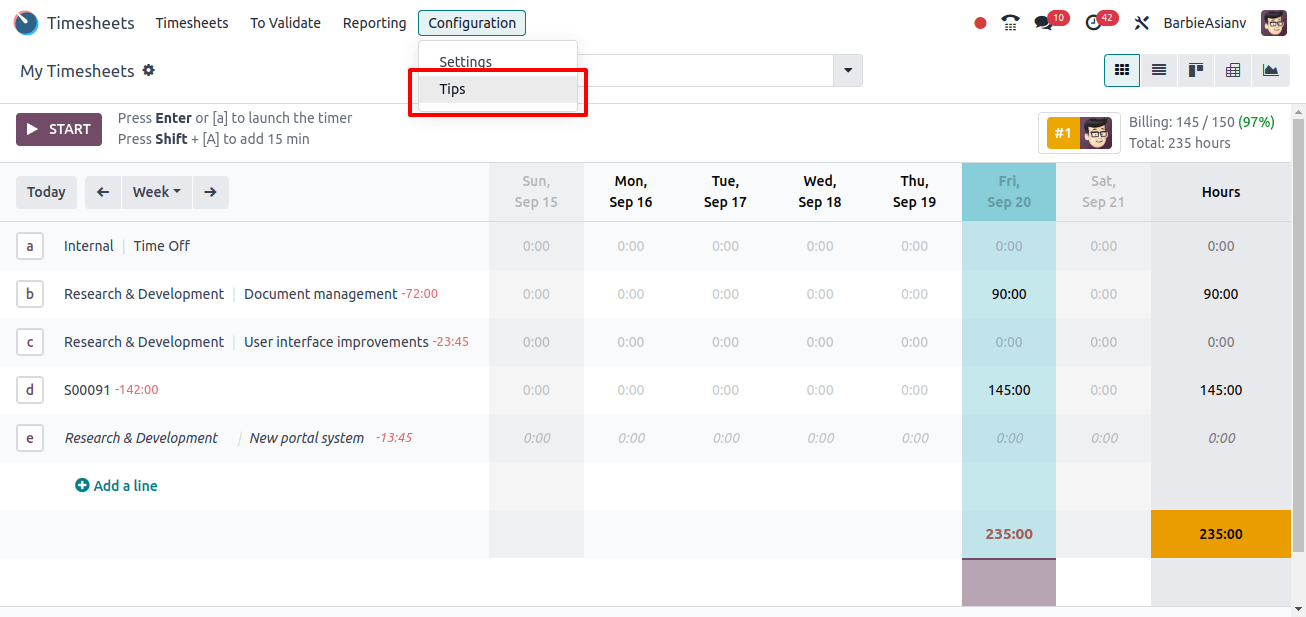
A list of tips will then emerge.Click the New button to create a new one. Following that, users will be able to add new tips to the line below the tip name.

These elements work together to help companies optimize billing processes, meet targets, and offer a culture of continual development and performance.
Odoo 17 assists in better financial management and operational efficiency by offering clear visibility into performance and progression.
How Can You Invoice Time and Material in Odoo 17 Projects ? Click Here
