"Milestones" are significant events or moments that mark a project’s progress, completion, or the end of a project. These points, typically used to monitor the progress of a project, provide teams with an indication of how close they are to meeting their goals.
Project management success is dependent on milestones for the following reasons: They help with deadline management. By creating significant milestones throughout the project’s planning stage, project managers can keep track of all deadlines.
So, let’s see how these milestones were managed in the Odoo 17 Project module. To enable the Milestones option, the user must first set it. So from the configuration menu, select and then enable milestones.
Steps to Track Key Achievements with Odoo 17 Milestones

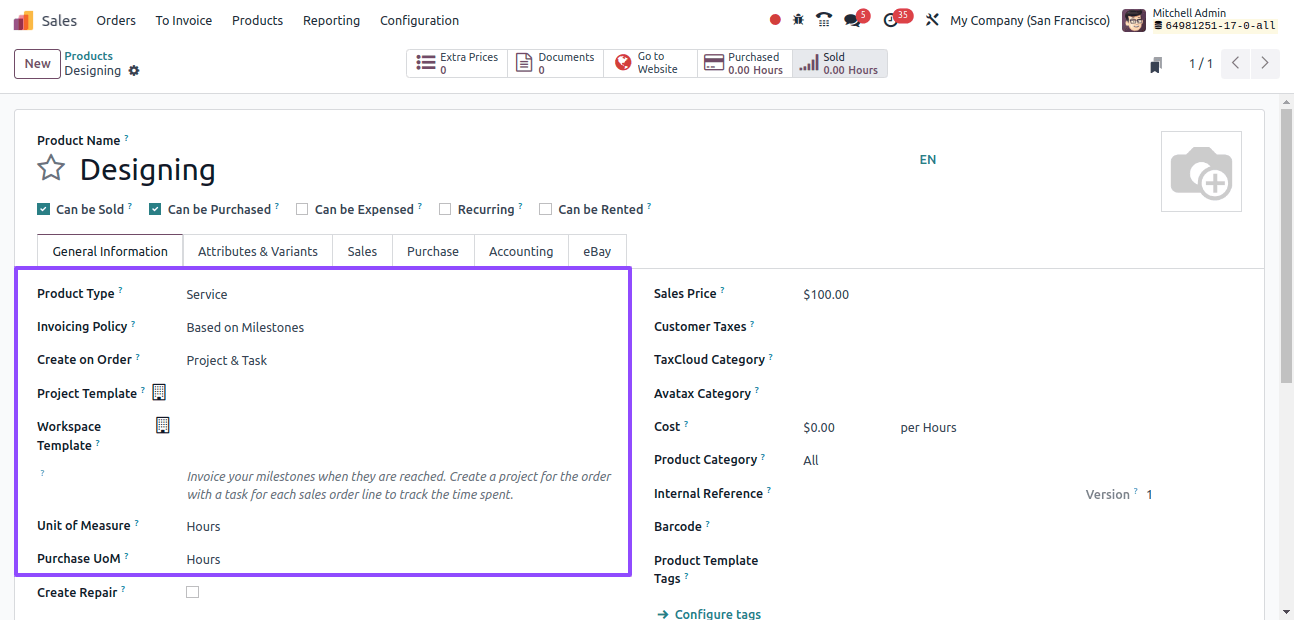
Then go to the Sales module and set up a new service offering. Here, the product name is ‘Designing’, and the ‘product type’ is ‘Service’. There are many billing policies, however the user chose ‘Based on Milestones.’
When the Sales order is verified, a new project is created and named ‘Designing’. It is because the user selected the ‘Project & Task’ option in the created-on-order field, which resulted in the project design being added as a task. Then save the product setup.
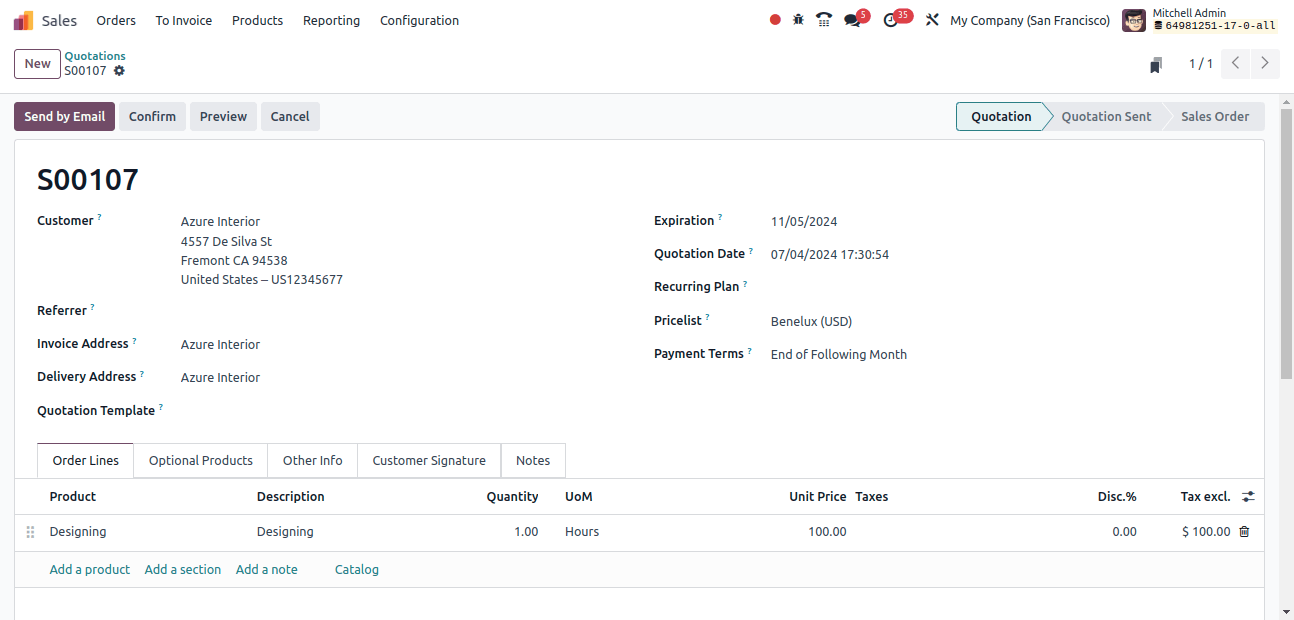
Assume the user is creating a new sales order for the customer. Here, the customer is Azure Interior, and the product is selected with a quantity of 100 hours within the order lines. Confirm the quotation.
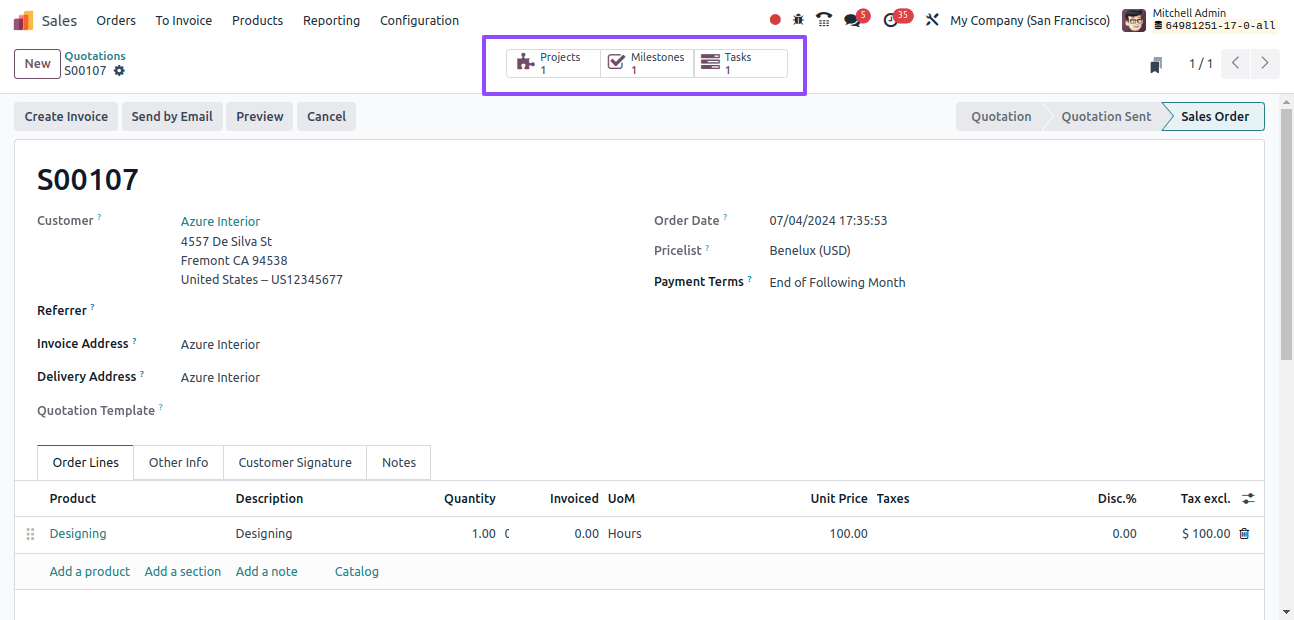
After approving the order, there are three smart tabs: the previously formed project, the task related to this project, and Milestones in Odoo 17 ERP.
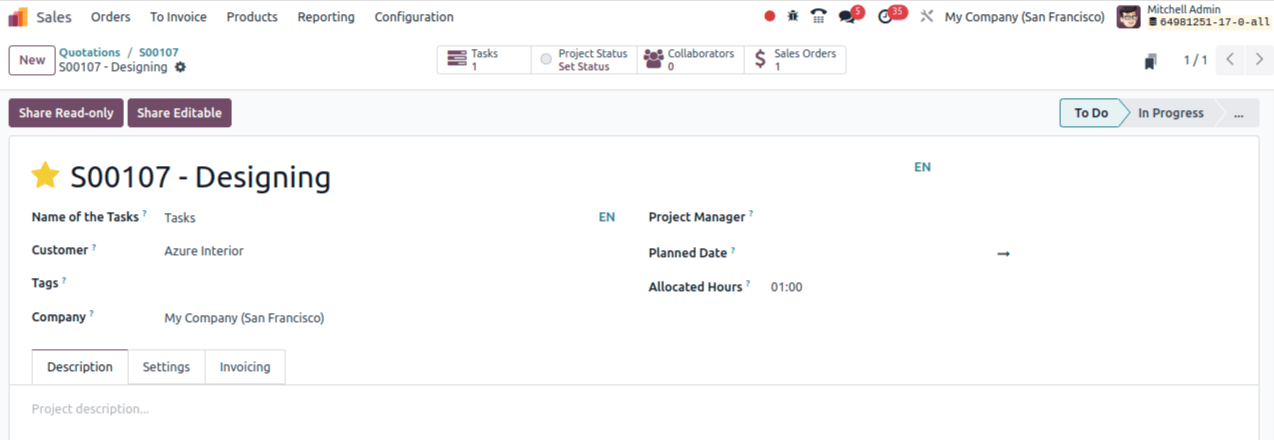
Next, create a new project from the sale order. Here, a new project was developed. The intended date, task names, project manager, and other project-related information can be entered there. Any description of the project can be included in the Description tab.
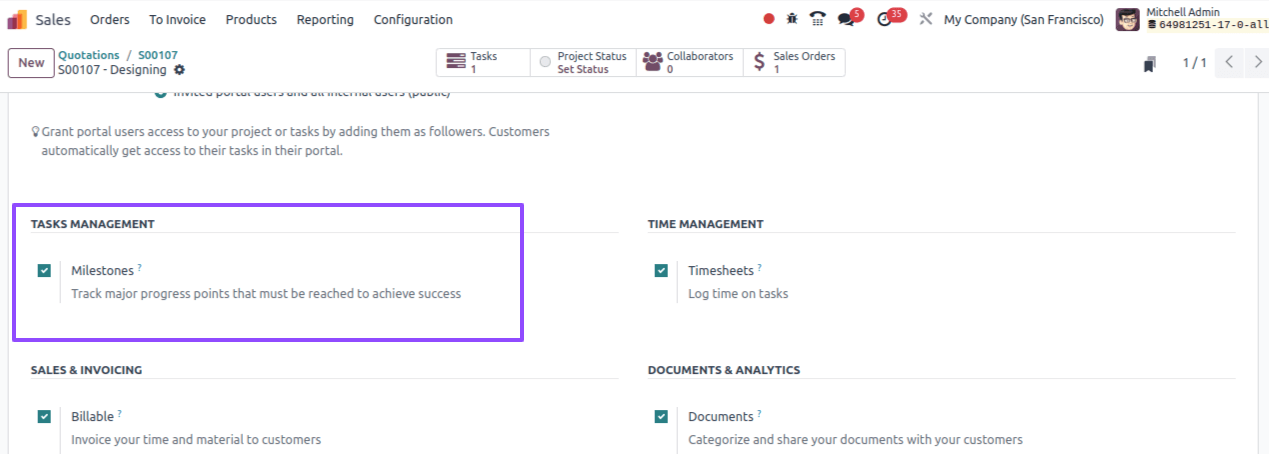
The settings page allows users to add additional configurations to the project. So the Milestones option must be activated there. After making such changes, save the new project.
Return to the sales order and then open the Milestones smart tab. Currently, no milestones have been added. To add new milestones, open the milestones smart tab first.
The new button lets the user add new milestones. The user has added three new milestones: Initiation, planning, and implementation. So state the amount of time required to complete the milestone.

When the first milestone is met, which is when the initiation process is done, check the boolean met. Then select the ‘view sales order’ option from there.

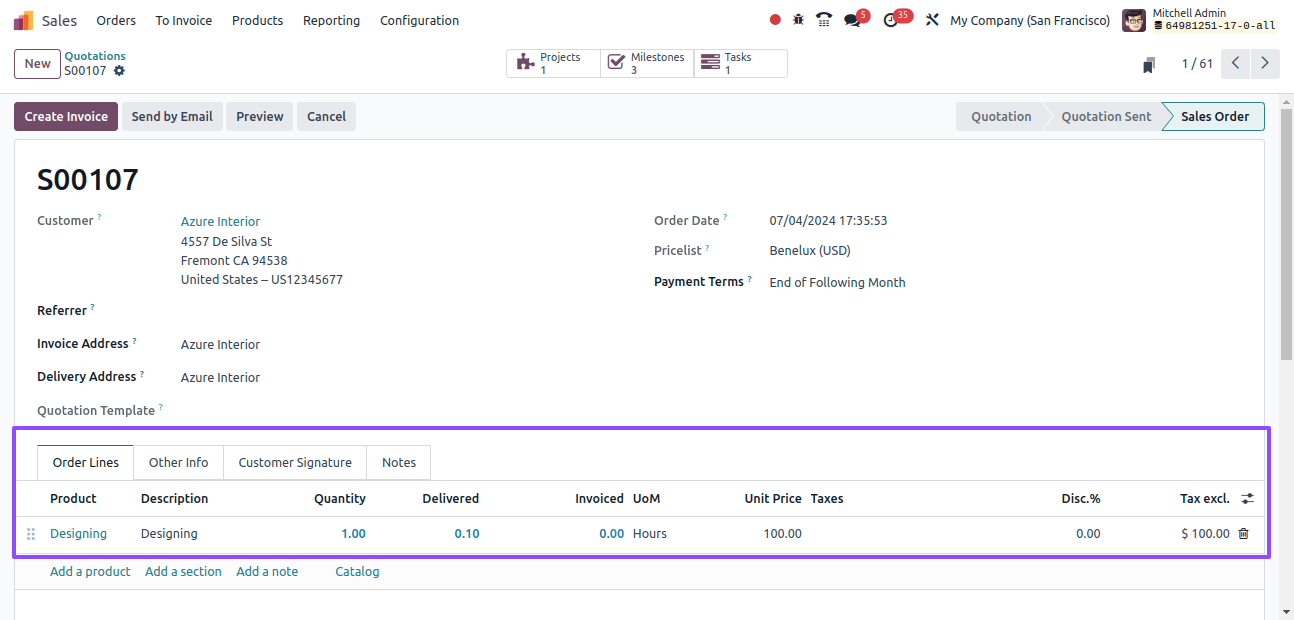
Let us analyze the sales order. The user created a sales order for 100 quantities, stating that 10% of the total quantity was required to complete the first milestone.
So, in this selling order, the supplied amount is updated to 10 hours or 10% of the total purchased quantity. Use the Create Invoice button to generate an invoice for the delivered service.
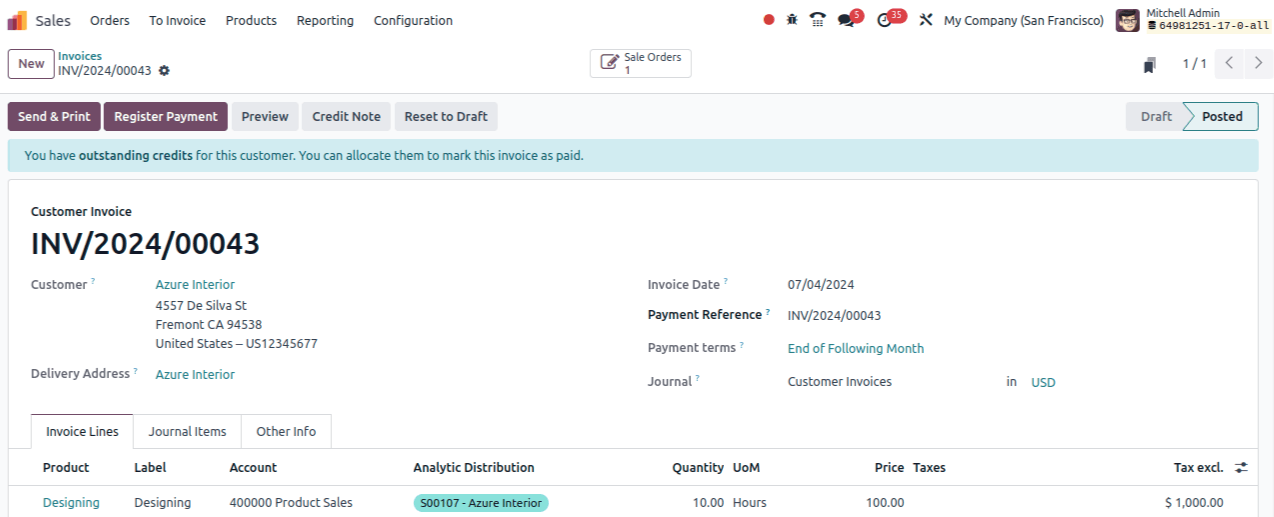
So the user prepared a standard invoice for the first milestone. Then, confirm the invoice.
After finishing the second milestone, tick the one you reached and, as previously said, click view sale-orders.

This time, the delivered quantity equals 20% of the total ordered quantity.
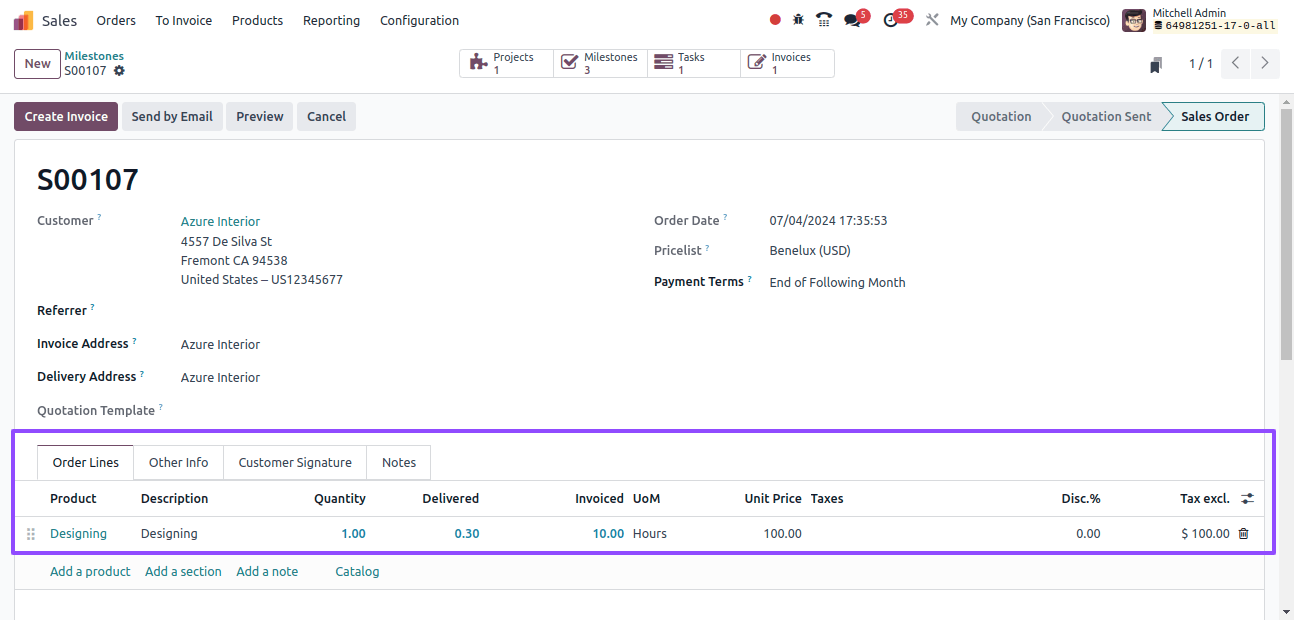
Thus, 20 additional hours of service are provided. Thus, in the selling order line, the delivered quantity will be updated to 30 hours. Ten hours have already been done and billed as part of the first milestone, and the remaining twenty hours will be completed at the second milestone. Now, generate an invoice from the order.
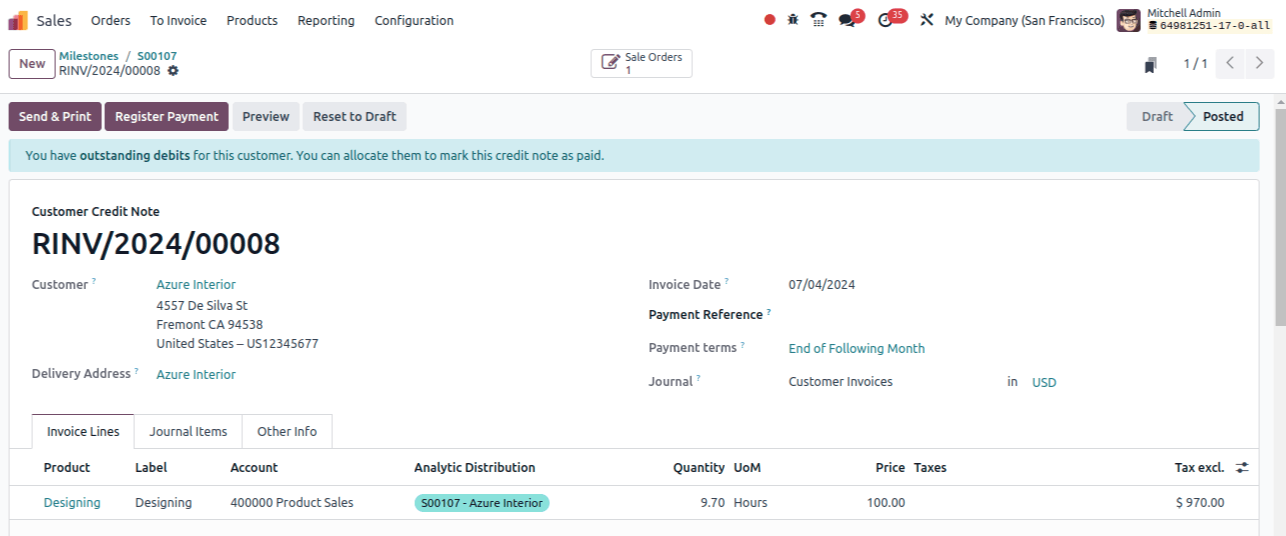
So, if the user completes the last task, they will have reached the third milestone. Then enable the boolean labeled "Reached" for the third milestone, implementation.

When inspecting the sales order, the supplied quantity was updated. Next, create a new invoice for the third milestone to complete the order.
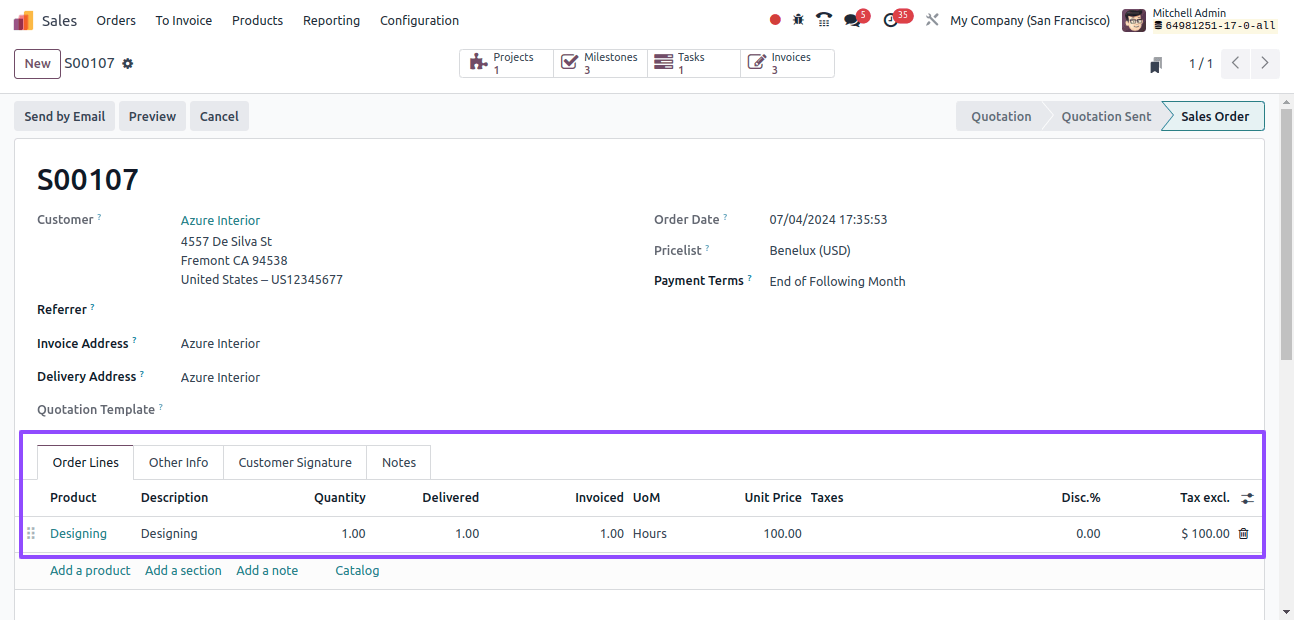
Thus, an invoice is generated for the remaining quantity, which is subsequently confirmed.
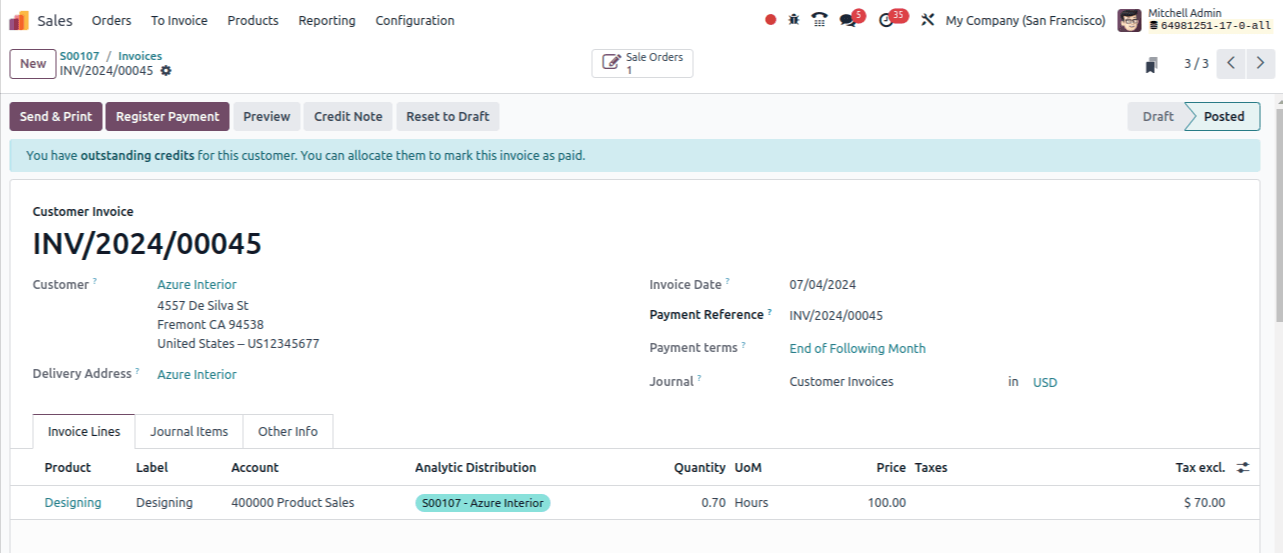
So the three invoices that were created can now be seen as a smart tab. The ordered, delivered, and invoiced quantities are all the same.
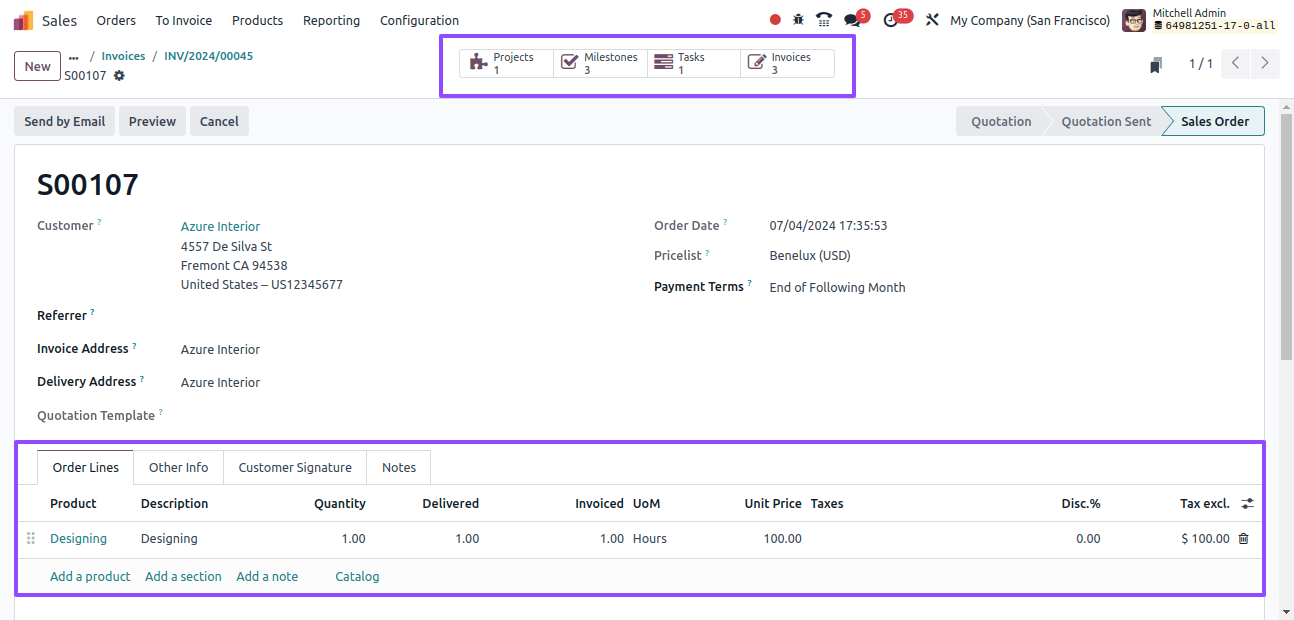
Let’s check the milestones created within the project; to do so, access the project. There is a smart tab called Project Updates. Open it to get more information on the project.
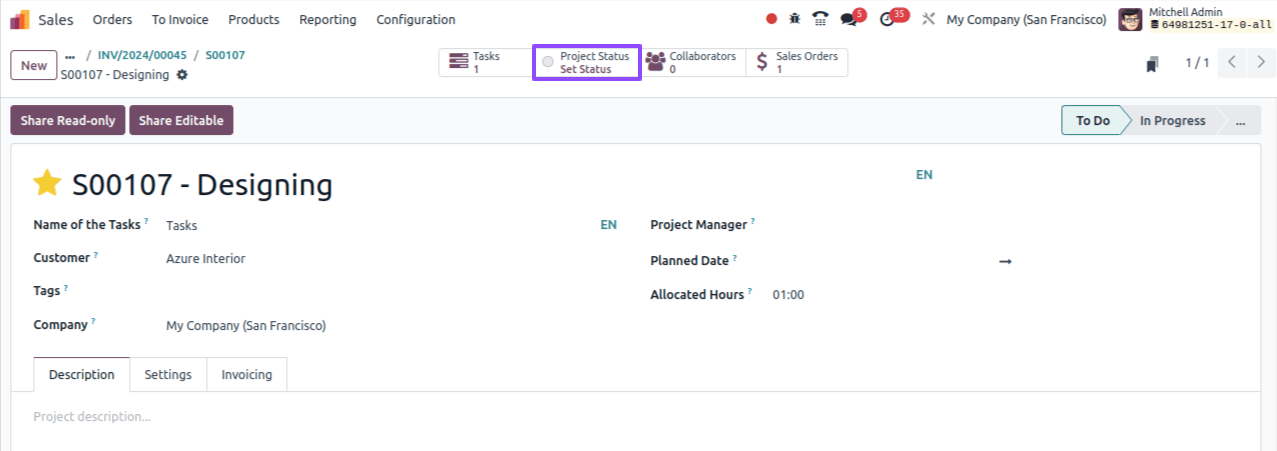
On the right side of the screen, you can see the created sales order, profitability, and other details. The Milestones that have been processed can also be reviewed through project updates. The deadline for the milestone is also displayed there.
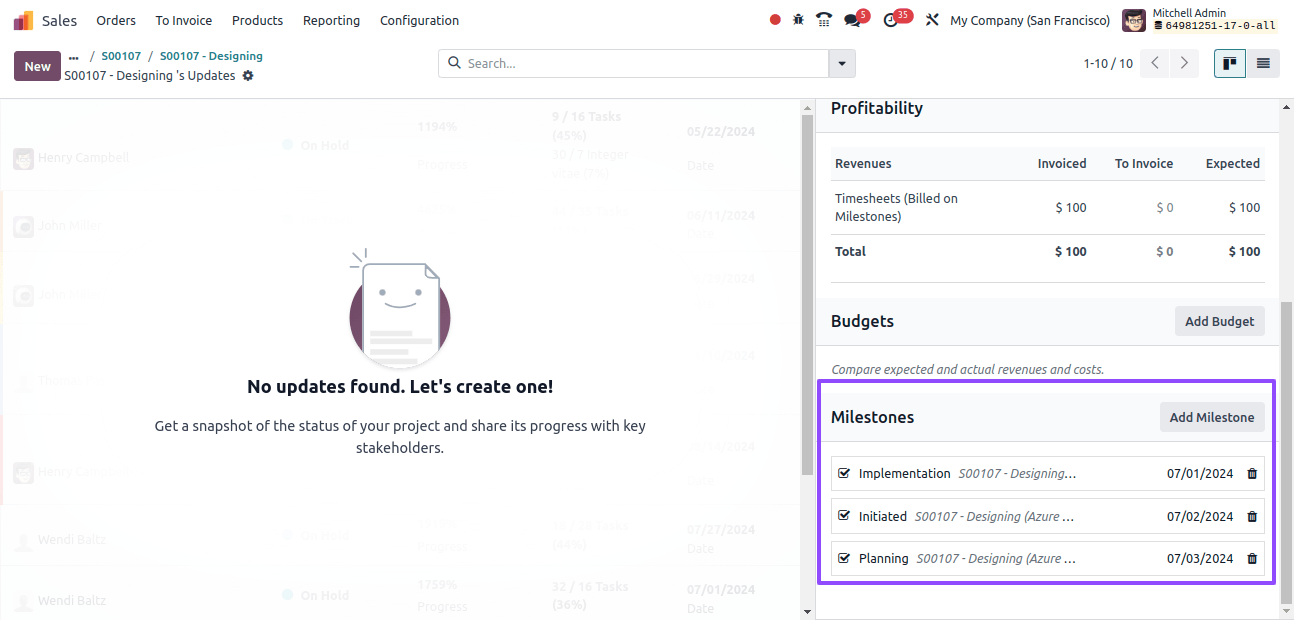
When viewing the task’s Gantt chart view, the milestone has been set based on the deadline presented. When a milestone’s deadline has passed, it is shown in red. The tick mark shows that the milestone has been reached.

To summarize, a smooth installation process is dependent on proper milestone management for the Odoo 17 Project Module.
These benchmarks are important for guiding the project through several stages, such as requirements gathering, customization, and deployment.
Successful milestone management in Odoo projects results in a customized ERP solution that readily meets organizational goals thanks to meticulous planning, adherence to timetables, and continual communication.
